It was the previous post when we discussed some of the PowerPoint animation tricks. And even we managed to create a simple timer with a 1-minute countdown. Now’s a good time to use this knowledge and transform it into a more complex performance. However, the general idea remains the same as it was shown in PowerPoint Animation Advanced. PowerPoint offers a set of rather simple instruments that, when used together, produce quite impressive results.
Important note! More basic information on PowerPoint animation you can find in our previous article with a truly mysterious name, PowerPoint Animation Basics, PowerPoint Animation Advanced and PowerPoint Animation Advanced – 2. In your search for other ways to handle various media in PowerPoint, you might like other articles in our blog, particularly, Christmas Сard and PowerPoint, How to insert audio in PowerPoint and GIF Marketing. GIF, Marketing and Marketeers.
Timer with a 5-second countdown
Here we’ll use the timer described in the previous post but slightly modified.
Your Start button
This is a simple text field that can contain any text, namely, Start. Let’s add a Wipe exit effect to your START button: Start – On Click, Duration – 2 seconds.
Timer line
Let’s make 7 text boxes with numbers where you can enter 0, 10, 20, 30, 40, 50, and 60 (one number per field). Assume that the time scale is placed on the 24-cm line. All text boxes with numbers should take up your entire line. Set 0 and 60 at the beginning and end, with the rest set more or less evenly in between. Then select the entire line, go to the Shape Format – Arrange menu, and select Align to Top and Distribute Horizontally.
Let us now visualize our progress bar. To begin, draw a simple transparent rectangle with visible borders and red background. As previously agreed, its length equals 24 cm.
Then you can create another rectangle within that one. This time with transparent borders but a solid fill. It is, in fact, our progress bar in the sense that when animated, it expands from 0 to its maximum width in 55 seconds. Since 24 cm is a spacing for one minute, the target width is 24/60*55=22 cm (width for 55 seconds).
Let’s put our text set and two rectangles together now. Furthermore, 0 and 60 are not necessary anymore. They were employed to facilitate horizontal distribution. However, I left them just in case. And the font color was changed to white (Home – Font Color menu).
We need to reorder our elements like that.

Settings are as follows.
All number buttons: Start – With Previous, Duration – 5 sec.
Rectangles: Start – With Previous, Duration – 55 sec. and 60 sec.

Now we’d like to get our progress bar to work. Navigate to the Animations menu – Entry animations – Wipe effect. The following options are available:
- Effect options – From Left;
- Timing – Duration – 55 seconds
- Start – With Previous.
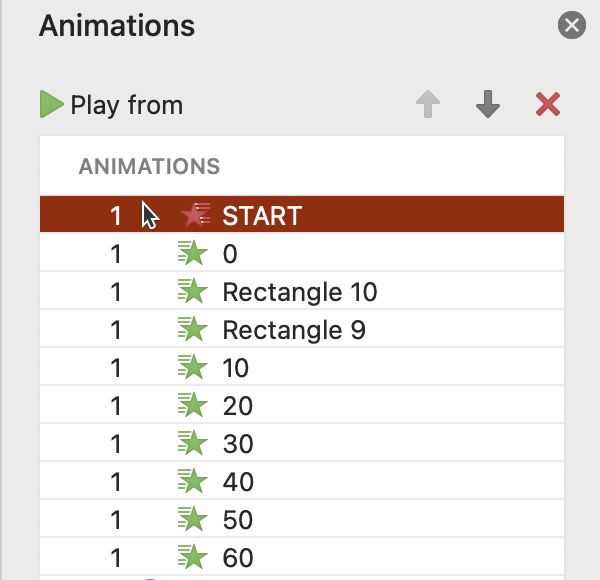
Another animation is added to the progress-bar elements, namely the numbers and the border. Select all of those elements and then press Wipe with the following settings: Start – With Previous, Duration – 60 seconds, Delay – 0.
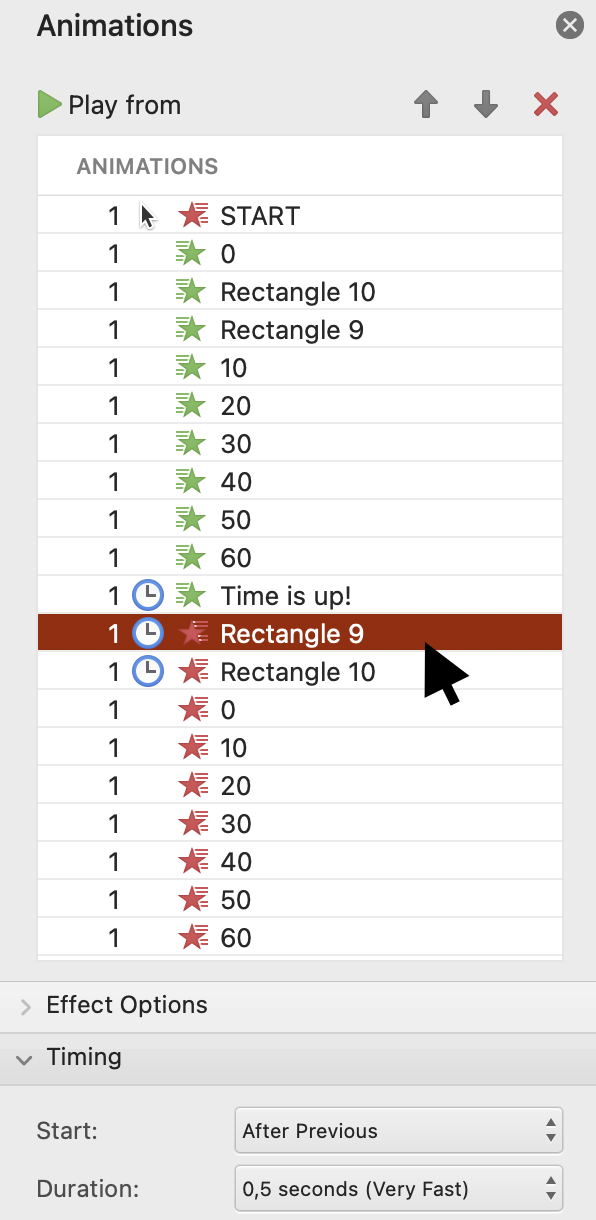
Also, after 55 seconds, we’d like to remove the entire progress bar, including all rectangles and text boxes. Select all objects and then select the Wipe exit effect: Delay – 0, Start – With Previous.
When the countdown is complete, we’ll add our final message. I use a pattern fill (dotted: 90%) with a red foreground and a white background in the new text field. There is also a “Time is up!” message. It uses a white font with 60 point size. I apply the Drop effect with such parameters: Start – After Previous; Duration– 1 sec.
The last step is to choose rectangles for all textboxes containing numbers and apply the Exit effect, Dissolve out. Its settings for number fields are: Start – With Previous, Duration – 0.5 seconds. And we use Start – After Previous, Duration – 0.5 sec. for rectangles.
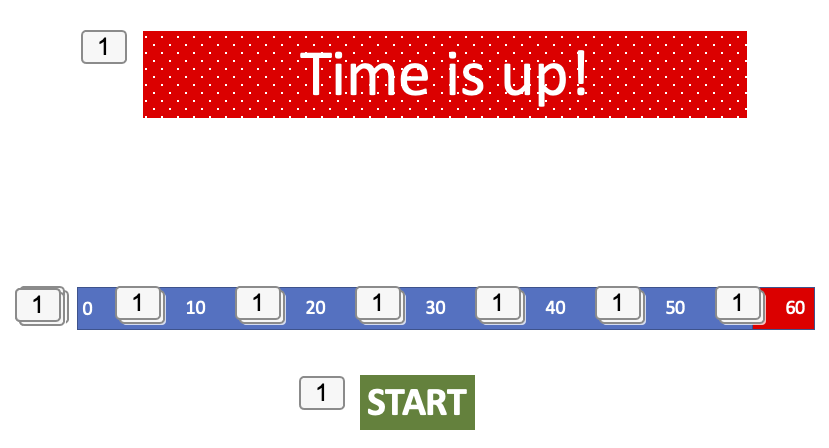
The previous sections, actually, repeat the ones from the previous post. Now let’s introduce our modification. It looks simple but in fact, takes some time.
Five-second countdown
Here, make a circle with six digits in a similar pattern. Put each of those numbers in the circle’s center once you’re done with the animation effects.
The next step is to fine-tune our circle with numbers. The circular settings are as follows:
- Wheel as an Entry effect;
- Start – With Previous;
- Delay – 0.1 sec.;
- Repeats – 6.
We can produce two effects for numbers: one for entry and one for exit.
Number 5:
Entry effect: Start – With Previous. Duration – 0.25 s. Delay – 0. Exit effect: Start – With Previous. Duration – 0.01 s. Delay – 1 s.
Number 4:
Entry effect: Start – With Previous. Duration – 0.25 s. Delay – 1 s. Exit effect: Start – With Previous. Duration – 0.01 s. Delay – 2 s.
Number 3:
Entry effect: Start – With Previous. Duration – 0.25 s. Delay – 2 s. Exit effect: Start – With Previous. Duration – 0.01 s. Delay – 3 s.
Number 2:
Entry effect: Start – With Previous. Duration – 0.25 s. Delay – 3 s. Exit effect: Start – With Previous. Duration – 0.01 s. Delay – 4 s.
Number 1:
Entry effect: Start – With Previous. Duration – 0.25 s. Delay – 4 s. Exit effect: Start – With Previous. Duration – 0.01 s. Delay – 5 s.
Number 0:
Entry effect: Start – With Previous. Duration – 0.25 s. Delay – 5 s.
This is the final timer layout.
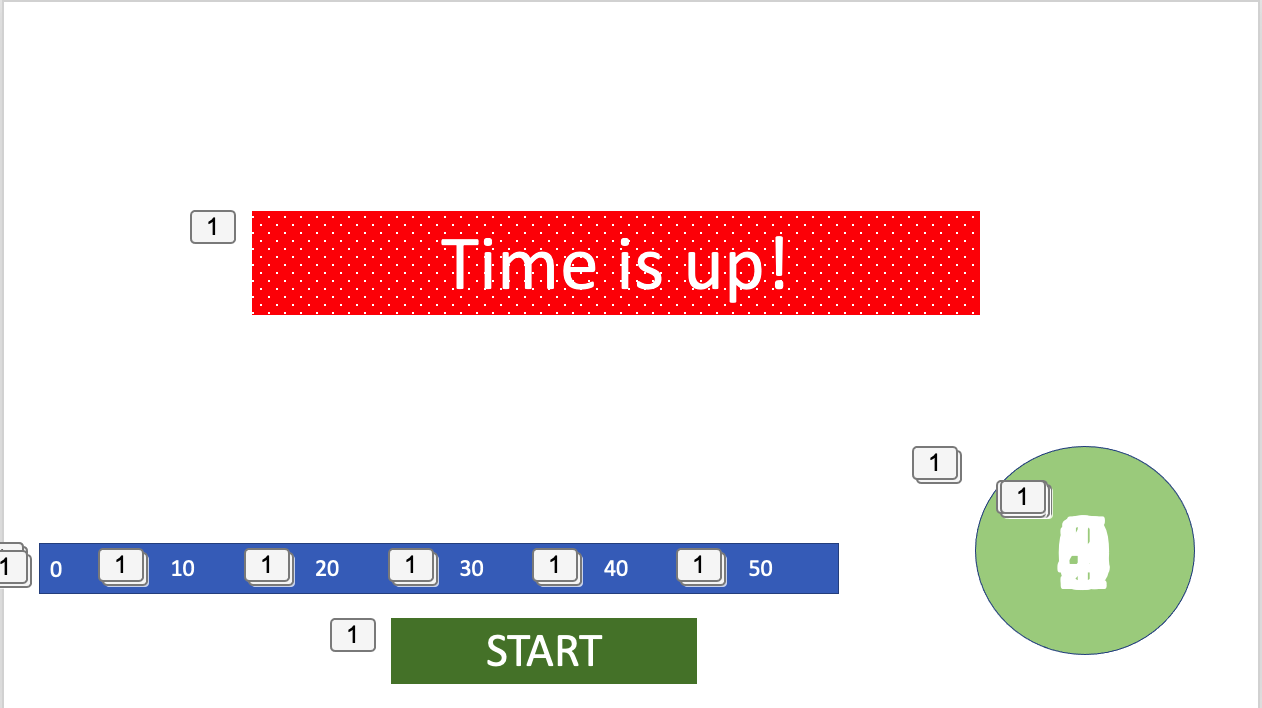
You may now add your countdown timer wherever you need it.
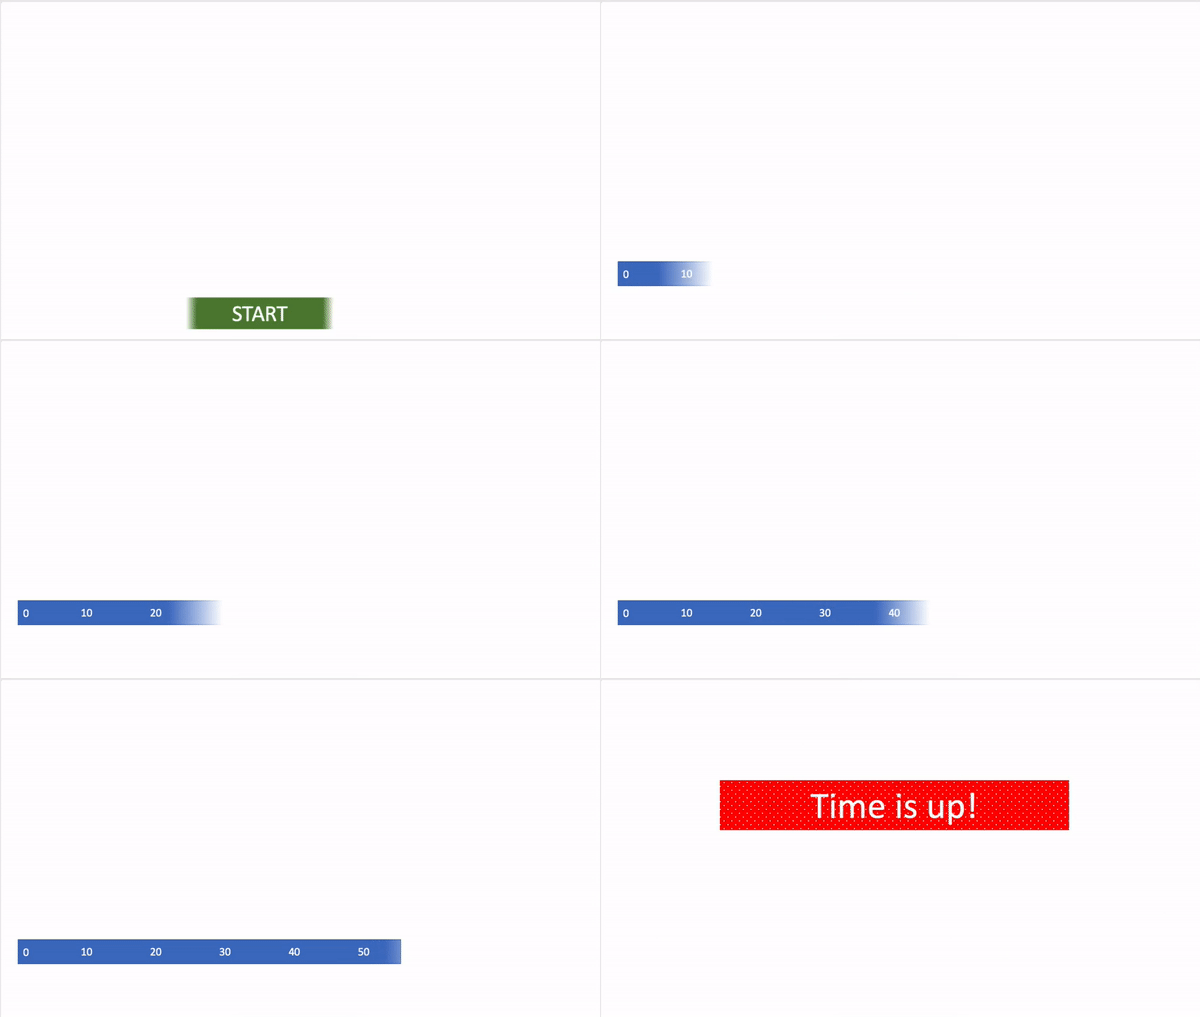
Pure PowerPoint Christmas Card
We won’t include any gifs in our Christmas card; it will solely have PowerPoint animations and images. In our scenario, there are numerous steps involved in creating our card. Let’s go over each one one by one.
How to make multilayer background
In fact, our background is made up of several rectangles with different shapes layered on top of each other.
- Background
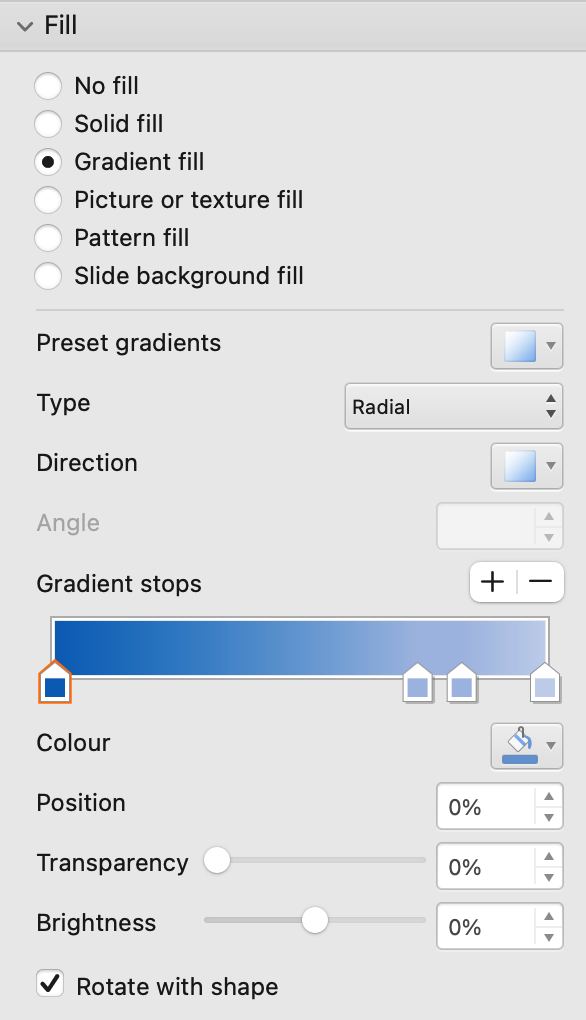
a) The lower layer has a gradient fill. Once you’ve placed your rectangle to cover the majority of the page (or the entire page if you prefer): Format Shape – Fill – Gradient fill.
- Type: Radial
- Preset gradients: dark-blue square in the middle (so, you might choose a different one)
- Direction: from the upper left corner. For all gradient stops (4) you leave default values.
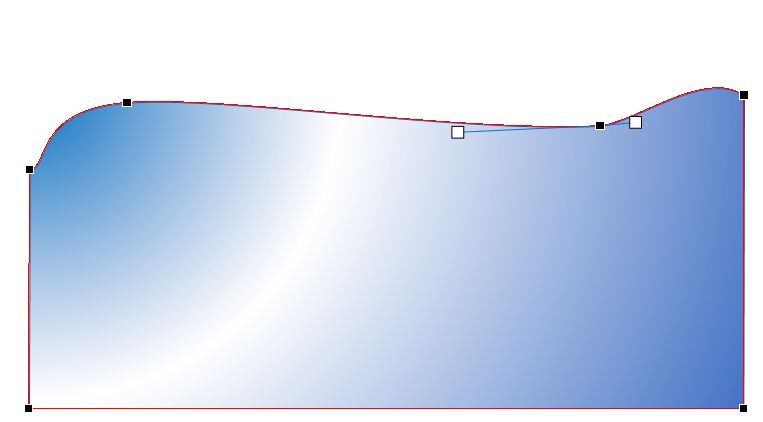
b) The rectangle is then copied and pasted. It’d be our second layer. We should now alter the upper rectangle border shape. First, move the upper border down slightly, but not too far because you’ll need to place another five shapes above the one. To change the border shape, we use PowerPoint Edit Points mode: right-click the rectangle you want, then select Edit Points from the context menu. You need only move those points in order to create a wave-like line.
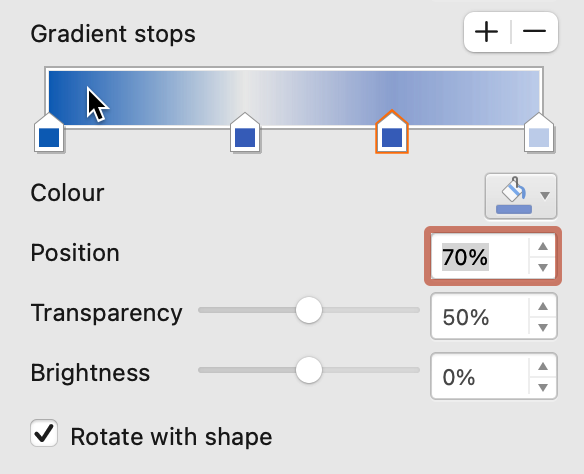
The next step is to properly set four gradient stops for your rectangle, reflecting their Brightness and Transparency.
- Position 0%: all zeroes.
- Position 40%: Brightness 0%, Transparency 100%.
- Position 70%: Brightness 0%, Transparency 50%.
- Position 100%: all zeroes.
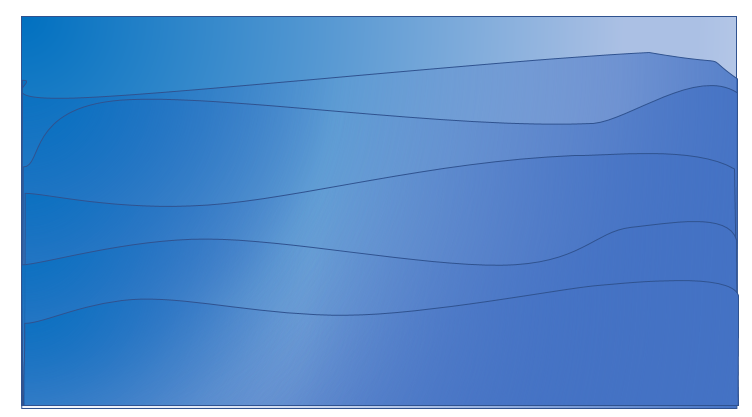
Then copy and paste the second rectangle to make another shape. Repeat this procedure each time not forgetting to lower its upper border.
- Snowman
The following step is to draw our Snowman.
a) A snowball to serve as our Snowman’s body: make a gradient-filled circle
- Type: Radial
- Preset gradients: light-blue
- Direction: from center
Gradient stops: Position 0%: all zeroes. Position 60%: Brightness 40%, Transparency 0%. ? Position 100%: Brightness 40%, Transparency 0%.
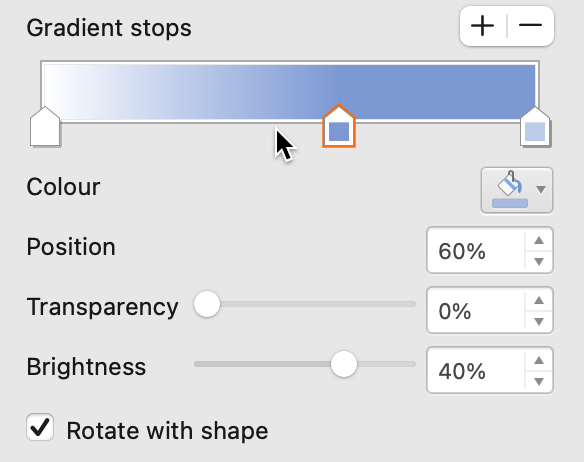
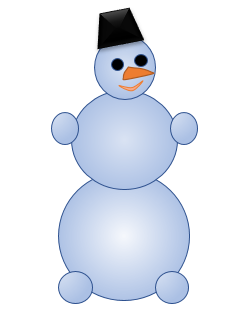
You can make more balls by copying our first one and changing the size: 1 smaller for his chest, 1 smaller for his head, another 2 smaller for his legs, and 2 smallest for his hands.
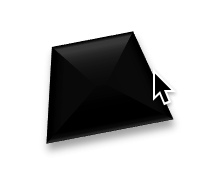
b) A trapeze shape is used to create a bucket that will be a Snowman hat. Edit Points mode and ready theme (solid black fill, for instance) can be used to achieve the desired look along with other effects (like shadows or bevels).
c) The nose of the snowman is, actually, a carrot. Begin by drawing a triangle shape. Again, a ready theme can be used to fill it.

This is how our Snowman appears. You can, however, create your own.
- New Year tree
A triangle is a basic shape for our New Year’s tree. Once you’ve drawn your first triangle, use Edit Points mode to change all of its sides. Then you can copy-paste it and change the sides of your triangles to make them look different. As a fill, a linear gradient is used.
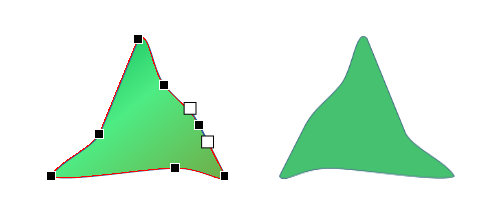
You can now draw several trees (each consists of 3 triangles of different sizes, the largest at the bottom, the smallest at the top).
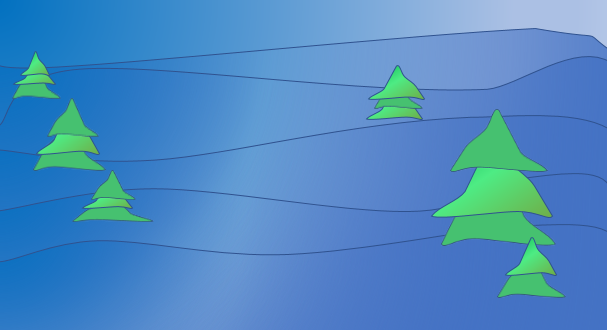
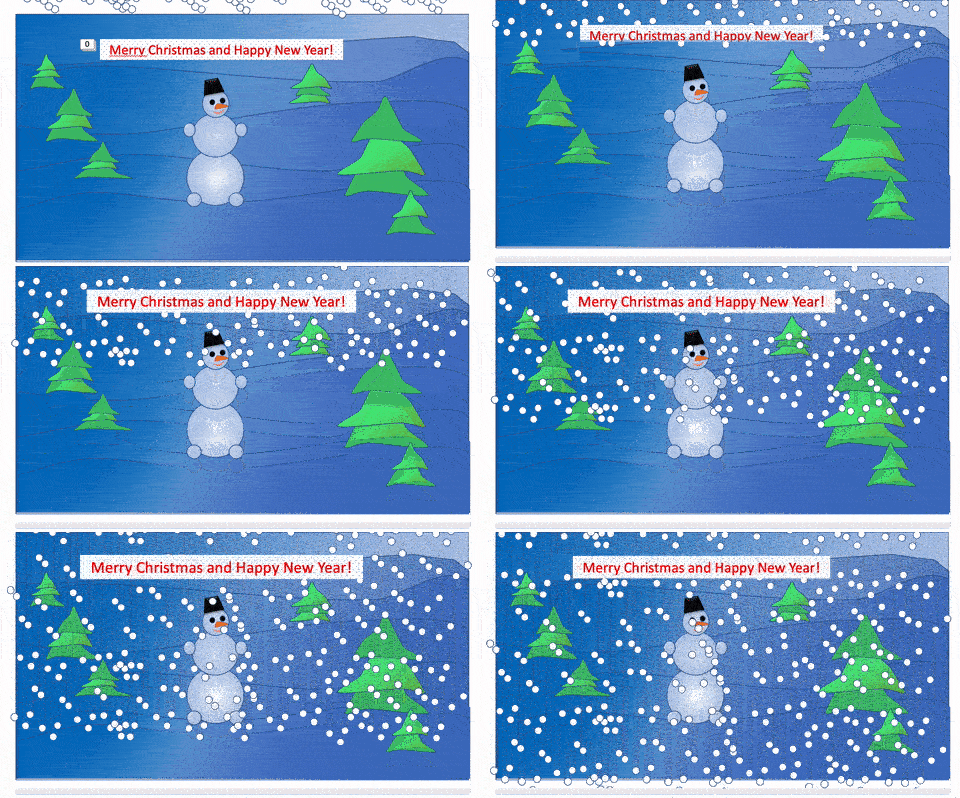
- Snow animation.
a) Showers of snow
First, we’ll make a snowflake. It is a small white circle with no edges in our simplified case. Then make several snowflake copies, scatter them across the screen (covering the entire visible area), and group them into Group 1.
b) Another copy of the snow shower is required for the continuous falling snow effect. After our first shower, the second one begins to fall. Both snow shower copies should be placed at the top, outside the upper slide edge, with Group 2 slightly offset.
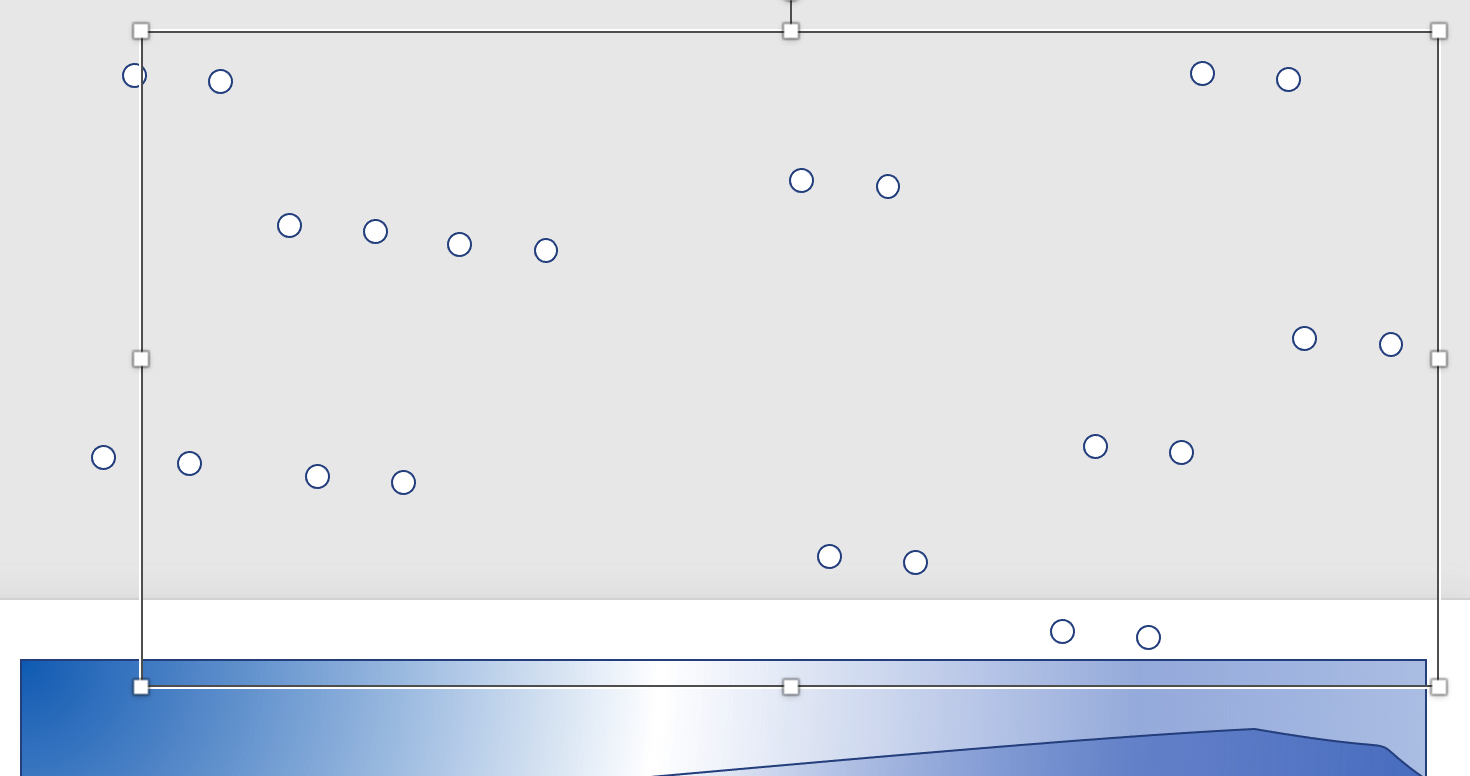
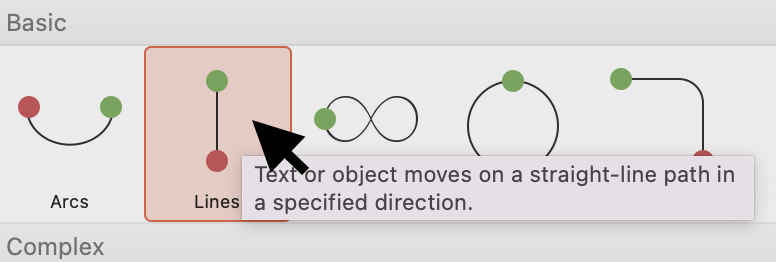
c) Both snow showers require the following animation: Animation – Path Animation – Lines. The route is designed in such a way that all snow elements move below the lower edge.
d) In the Animation Pane, we can now set animation options:
Group 1 parameters:
- Start: With Previous;
- Duration: 30,00;
- Delay: 00,00;
- Repeat: Until End of Slide.
Group 2 parameters:
- Start: With Previous;
- Duration: 30,00;
- Delay: 15,00;
- Repeat: Until End of Slide.
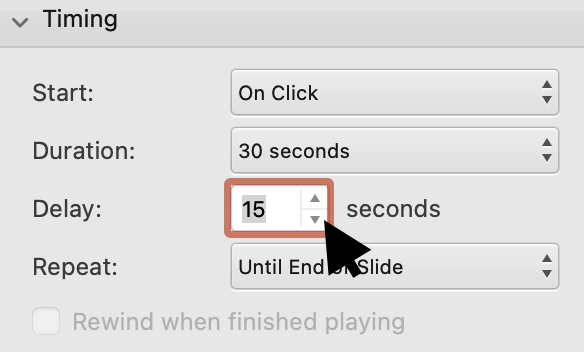
e) Textbox.
Now we’ll add a text box that says “Merry Christmas and Happy New Year.” The textbox animation is as follows:
- Animations – Entry animations – Wipe;
- Start: With Previous;
- Duration: 5 sec.
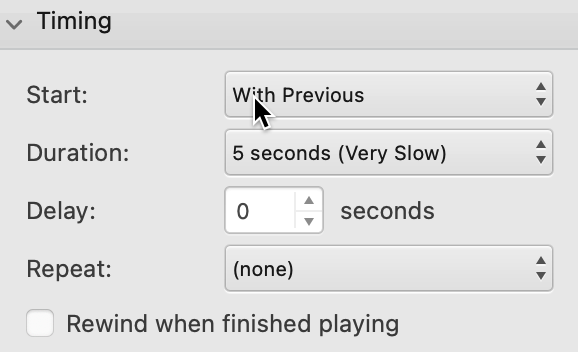
Once the textbox is visible, let’s add another effect:
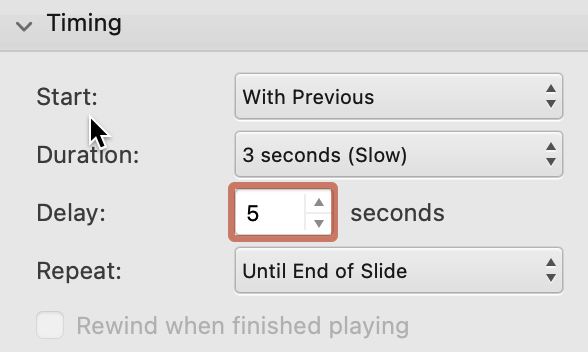
- Animations – Additional effect – Grow/Shrink with the following settings:
- Start: With Previous;
- Delay: 5 sec;
- Duration: 3 sec;
- Repeat: Until End of Slide.
Effect options:
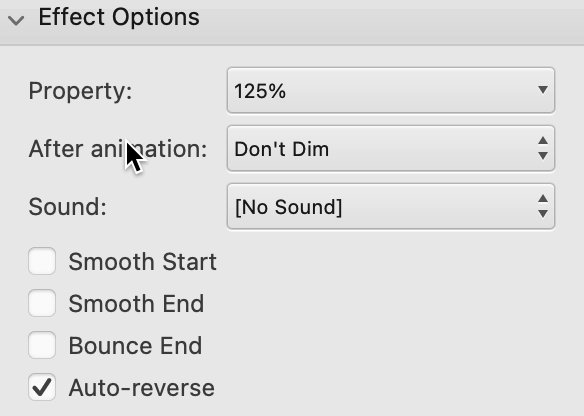
- Size: 125%;
- Autoreverse checkbox checked;
- Animate text: All at once.
f) You can also add some Christmas music if you follow our instructions in How to insert audio in PowerPoint.
Final thoughts
Two of the PowerPoint animation samples in the article, in truth, represent quite complex objects, despite the fact that they are made up of the most basic elements with very simple settings. However, their combination, blended with your efforts, produces a really exciting result that will impress your family members or even your boss.
Another thing to keep in mind is that Aspose family apps can make a significant contribution to your work. They may not be particularly useful for animations, but they can be used to prepare presentations in general. For example, Collage can help you create images, and Text-to-GIF could indeed assist you in creating text-based GIFs.
Posted inNews, Aspose.Slides App Product Family


