


Christmas Holidays Intro
A excellent tool with many features is PowerPoint. Although occasionally we fail to recognize how its features can provide us with far more than we had anticipated. Like making brochures, business cards, or a calendar using PowerPoint. But this time, let’s take a break from work-related concerns and focus more on holidays. Let’s make an animated Christmas card with a pleasant melody (Jingle Bells, perhaps?) and heartfelt wishes. But don’t be alarmed; compared to earlier times, contemporary technology has made things considerably simpler.
Creating your Christmas Card
Finding a source for the photos or GIFs we intend to use is the first step. For that Christmas task, Freepik offers background images, and Free Christmas Clipart pages at https://www.gifs.cc offer lovely GIFs. Additionally, we’ll use the Text-to-GIF software from Aspose for our individual animated message.
- Launch PowerPoint and start a fresh presentation. selecting the Blank Presentation template to begin with. You won’t need any of the current slide’s elements, such as the title text boxes for the slide’s title and subtitle, so you can remove them.

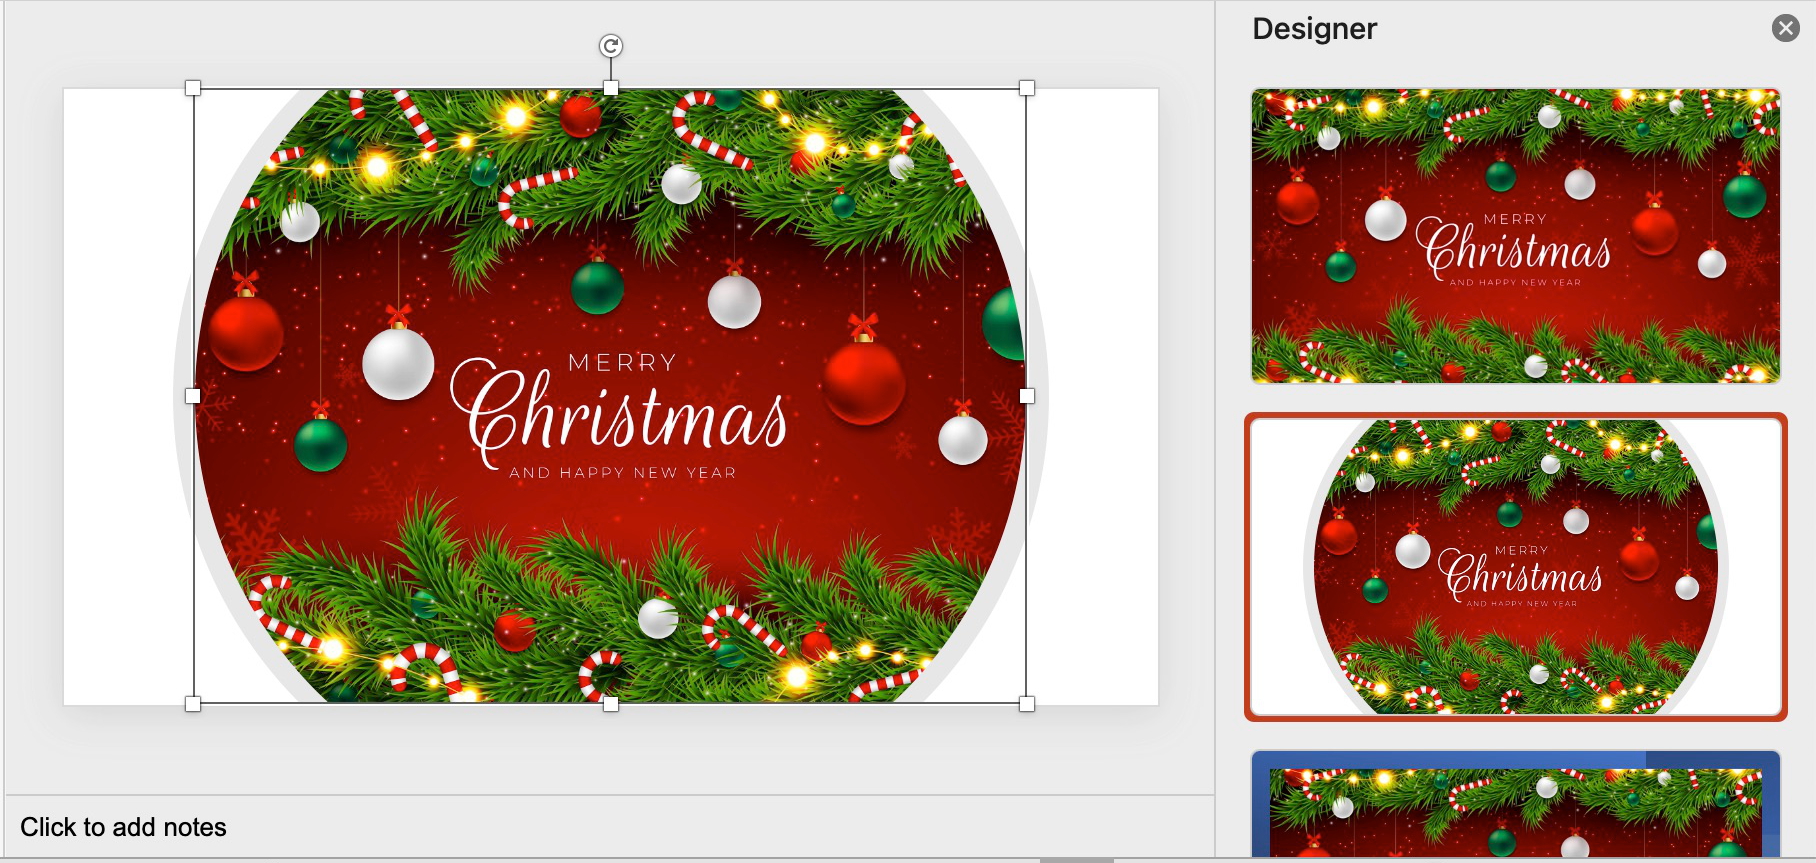
- Click Insert -> Pictures and add the background image of your choosing. There is a fantastic Designer feature in PowerPoint. It offers tips on where to position your image on the slide. Consider experimenting with it.
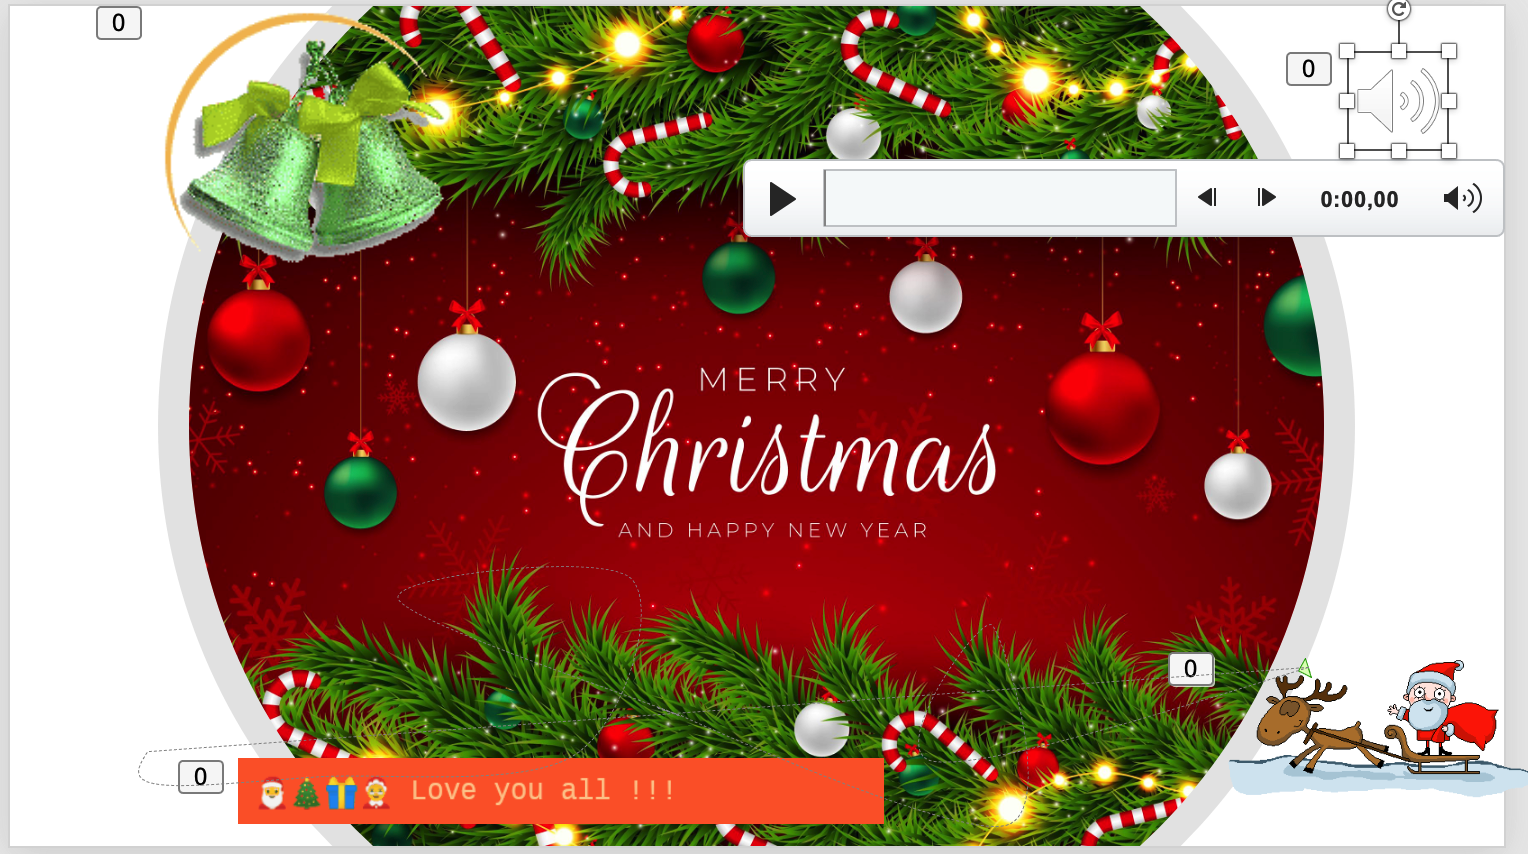
- Insert our GIF of Santa on a sleigh and position it outside the background image.

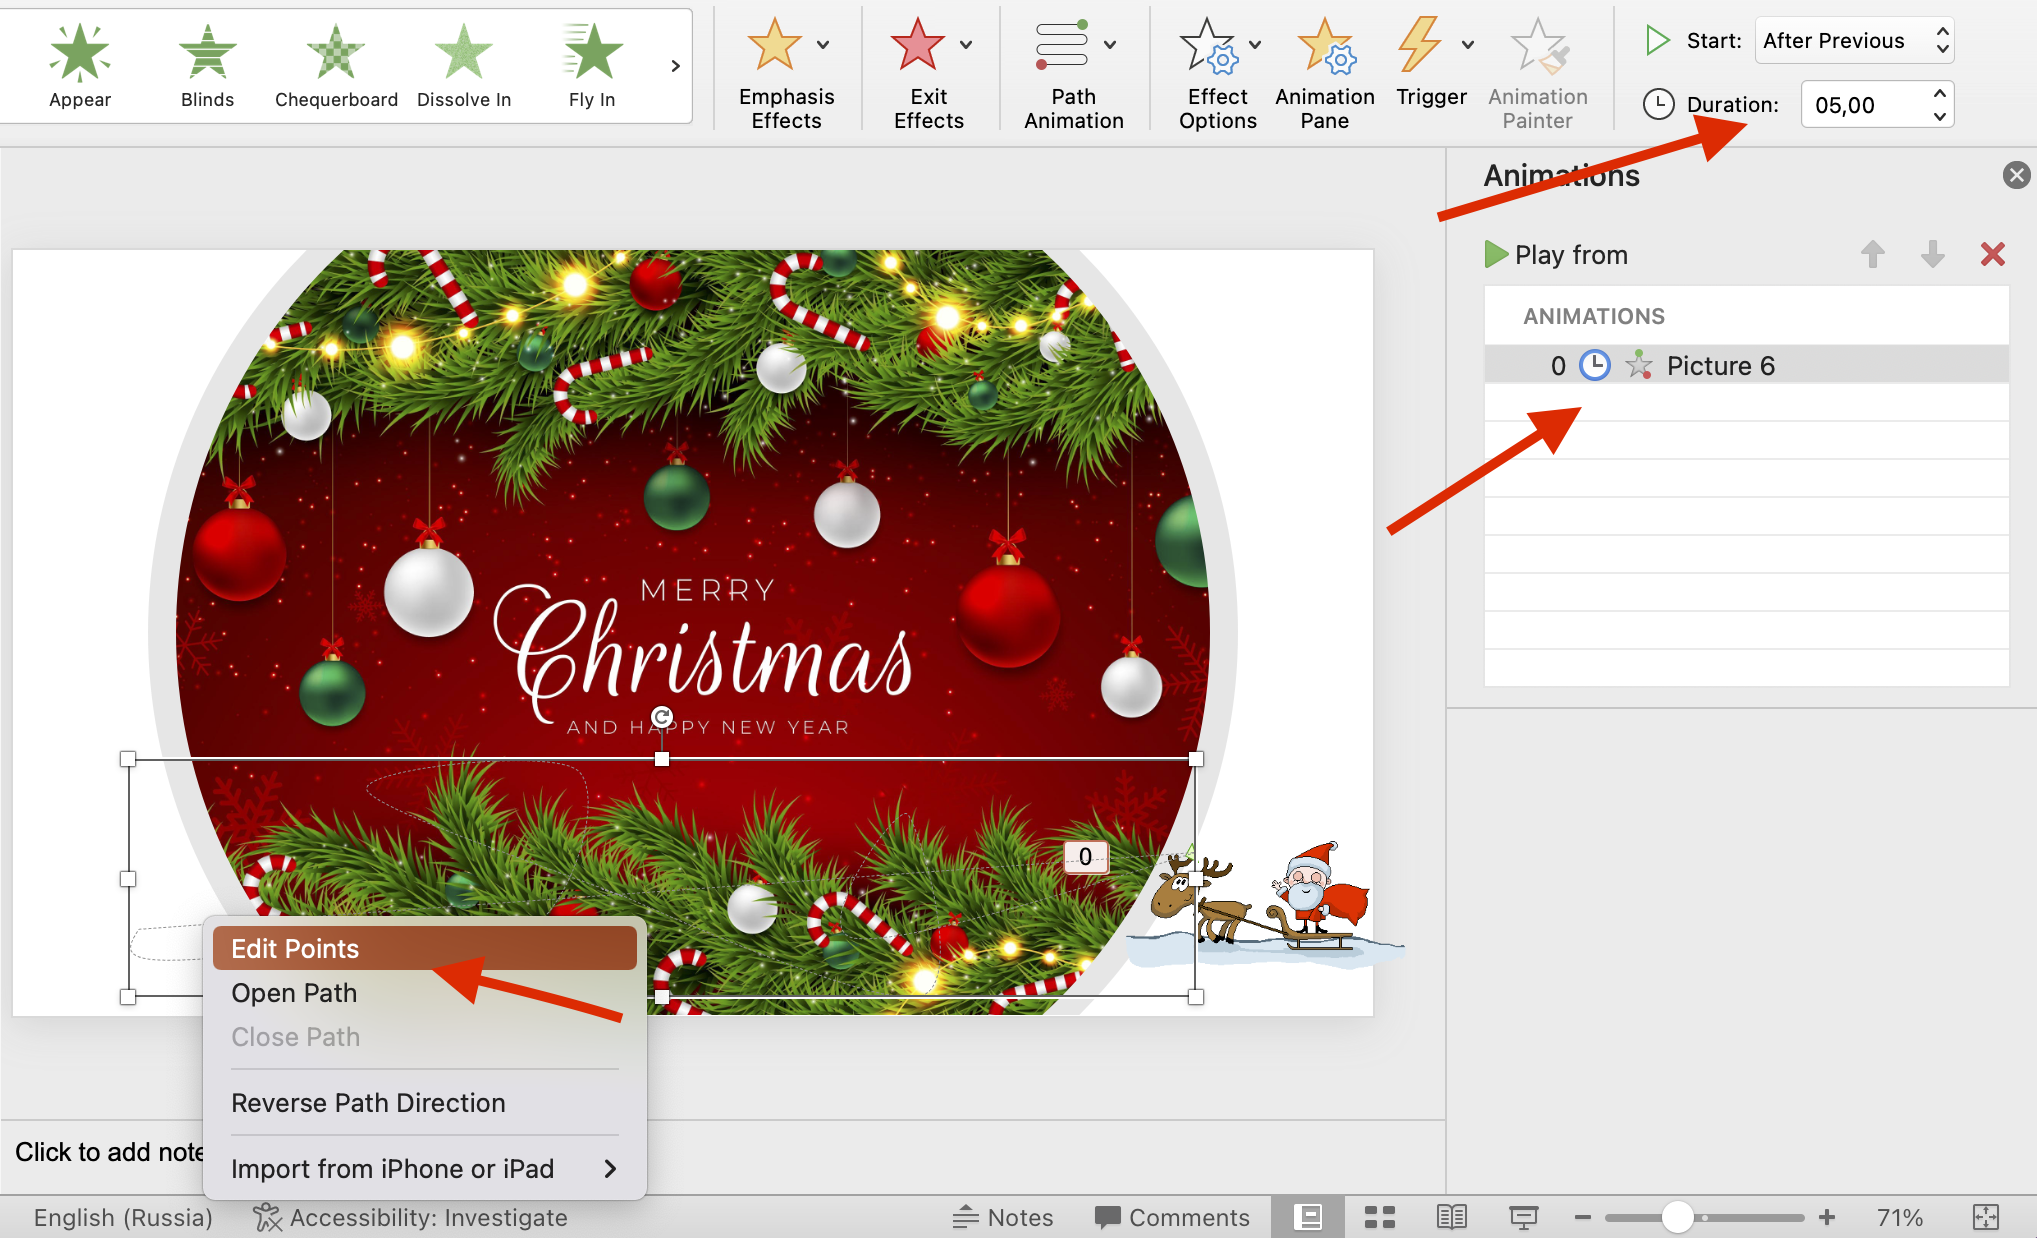
- Animation is now to be cared of. Draw Curve is one of the options we have in the Path Animation. To customize the animation route, right-click it on the screen and select Edit Points. If you want your Santa to return to its starting place after you finish, don’t forget to click Close Path.
- Let’s choose After Previous in the Start drow-down and 5.00 seconds for the Duration under the Animation menu. Therefore, after your Card is opened, the Santa’s journey begins. It won’t be as hasty as it was during the Card’s first run. The Animations panel offers a variety of additional controls that let you customize the behavior of the selected element.
- After that, we’ll add a GIF of Christmas bells and position it in the top left corner. And once Santa’s journey is complete, we want them to show up. Go to the Animations menu, pick Rendon Bars, and then choose the GIF. We also need the After Previous in the Start drow-down and the 1,00 in the Duration parameters.

- We need now employ the Aspose Text-to-GIF tool to build your customized Christmas message. All the directions are on the website, which makes it free and simple to use. Place your final GIF where you’d like it to appear and time it to follow the animated Christmas bells.
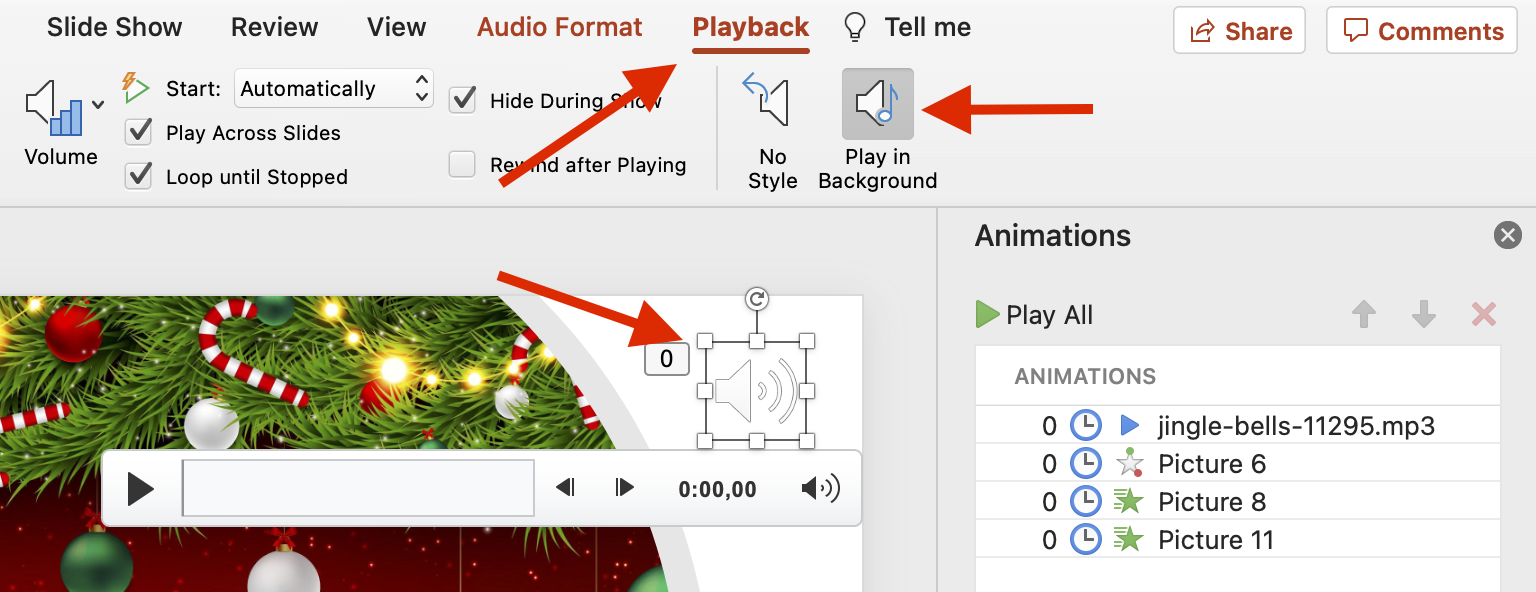
- Our Christmas song (Jingle Bells acoustic version) can be downloaded from Pixabay. Insert it by selecting Audio from File from the Media menu. Click the bell icon, then select Play in Background from the Playback menu. Once the slide is open, your music will begin to play. Our earlier blog post, How to insert audio in PowerPoint, contains more details on handling audio in PowerPoint.
- Let’s save our Christmas card as a PPSX file so that anyone may open it without having to open PowerPoint (File -> Save as… -> Select PowerPoint Show as your final file type).
Congrats! It’s done.