


Since PowerPoint provides excellent visual designs and functions, you can use it to create flyers, brochures, and similar materials. In this article, we intend to walk you through a simple brochure creation guide.
- If you have an active Office 365 subscription, the fastest method of creating a brochure requires you to search online for a PowerPoint brochure template. Once you find a brochure design you like, all you have to do is select it, fill it with your data, and specify your preferences.
- If you don’t have access to online PowerPoint templates or if you prefer to create your brochures from scratch, then the instructions in this guide are directed at you.
By the time you are doing reading this article, you will have learned how to create beautiful brochures in PowerPoint.
9 Steps to Creating and Designing a Brochure in PowerPoint
Step 1: Open a standard presentation in PowerPoint
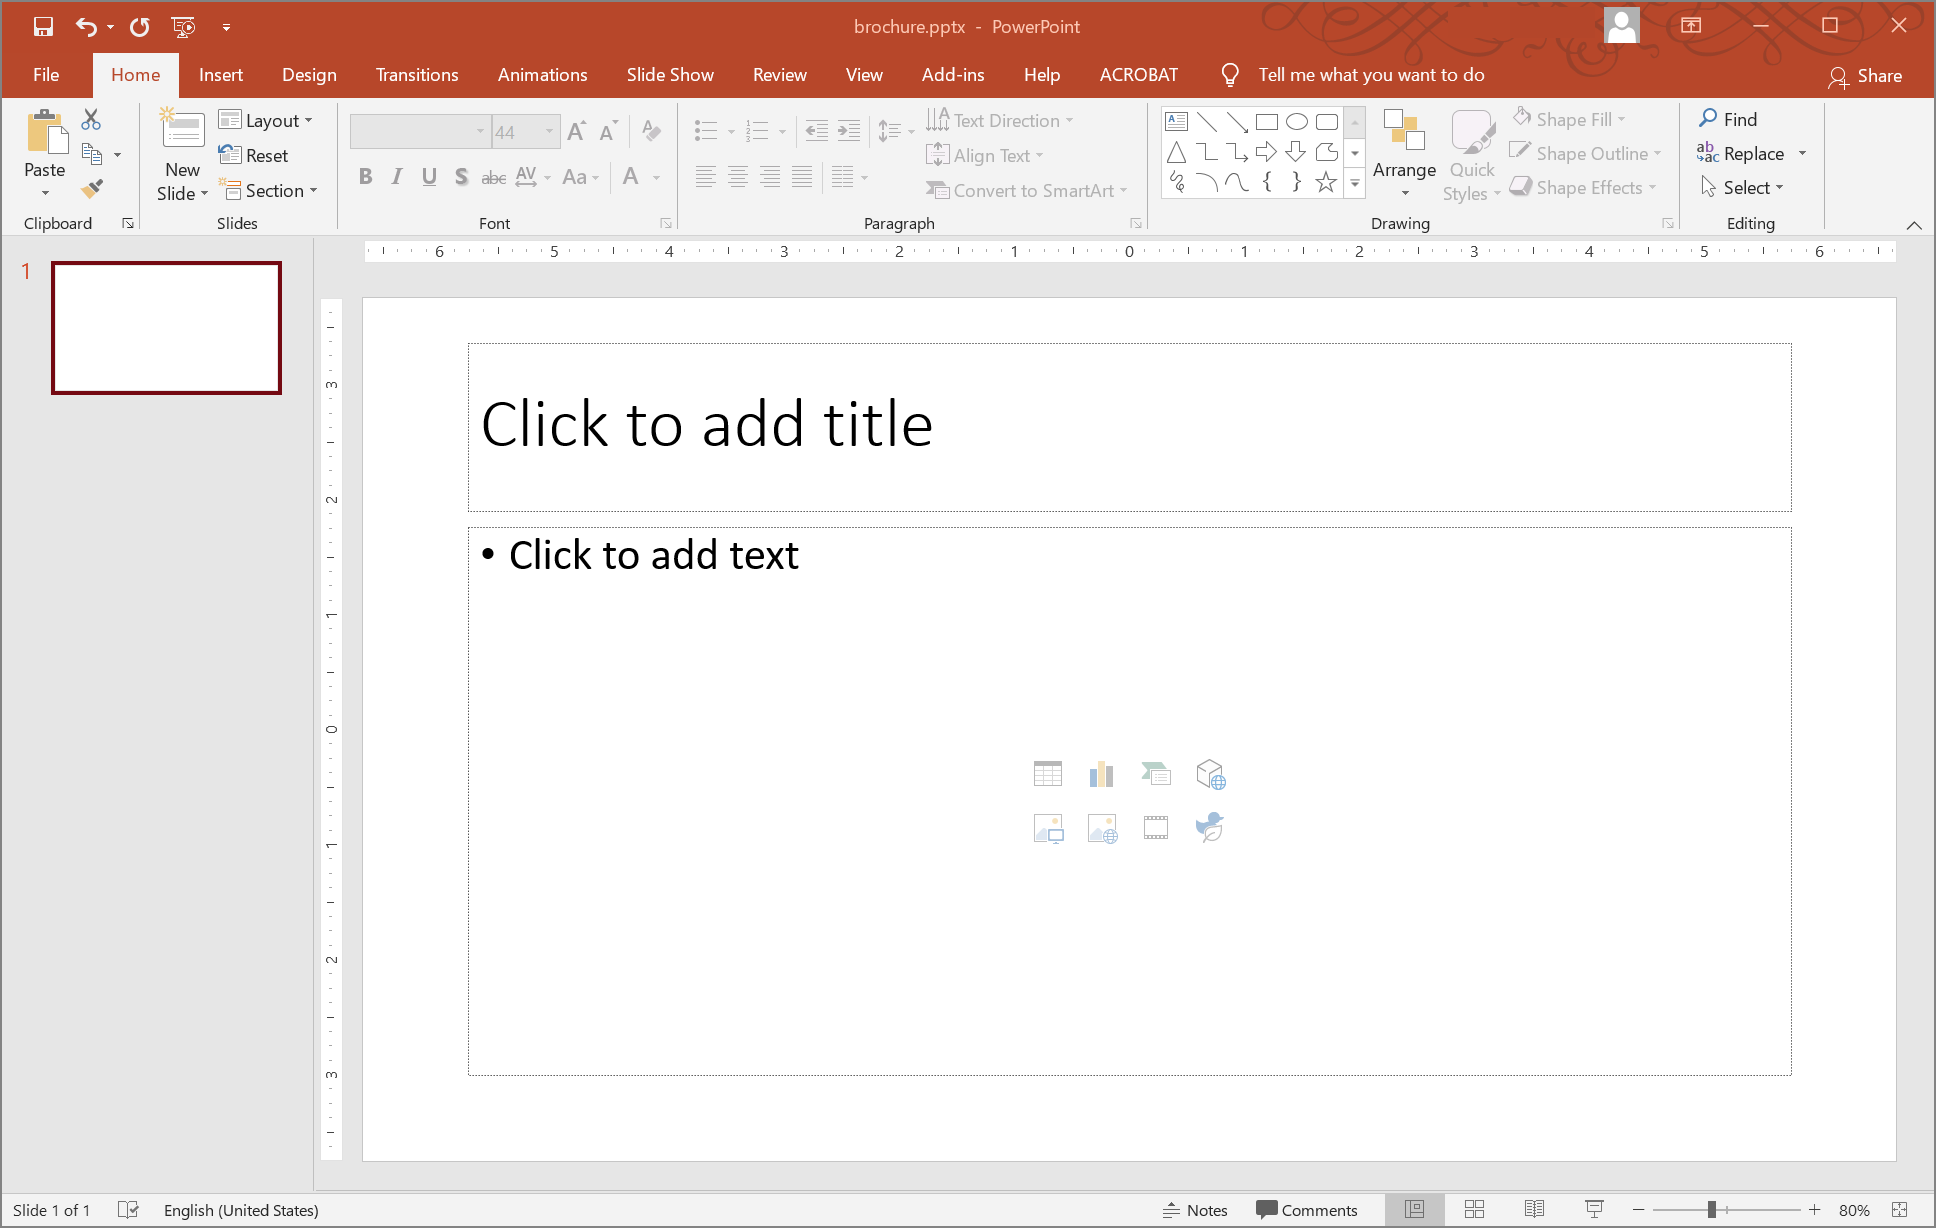
Open the PowerPoint program on your computer. Remember you are creating a brochure from scratch, so there is no prepared template to kick start your work.
Ideally, you should open a blank slide. Otherwise, if you open a slide with elements on it already, you have to delete all the placeholders and text boxes on it to get an empty layout.
Step 2: Add a table
At this point, you have to insert a table with 1 row and 3 columns.
- Click the Insert tab (close to the top of the PowerPoint window).
- Click Table.

- Choose the outline for the table on the first row while selecting 3 squares.
Alternatively, to create a one-row three-column table, do this:
- Go through Table > Insert Table.
- On the small Insert Table window, input 3 in the Number of columns box and then 1 in the Number of rows box.
- Click the OK button.
Step 3: Resize the table
You may want to resize the table to 7.5 by 10 inches since these figures correspond to the most commonly used dimensions for brochures. You can resize the table by dragging the handles on the table’s border to resize the table and force it to fit perfectly into the slide. A half-inch will remain for margins.
Alternatively, you can resize the table this way:
- Go to the Table Tools Layout.
- Use the Table Size options to specify your preferred figures.
Step 4: Set the No Fill setting
You have to drag your cursor over all the 3 columns in your table or double-click your table. You will then be directed to the Design tab for the table.
Click Shading to see the available options. Select No Fill.
Step 5: Duplicate the slide
Your brochure should have a front and back (2 screens at least), so you have to duplicate the slide you have been working on to get more slides.
You can duplicate a slide by right-clicking the slide thumbnail (on the left) and then selecting Duplicate Slide from the drop-down menu.
With the addition of the new slide, when you fold your brochure, the first column on the first slide ends up on the front and the last column ends up on the back.
Step 6: Add images
At this point, you can start adding images to your brochure by clicking the Insert tab and then selecting Pictures.
- If you want to add a picture stored locally on your computer, click This Device.
- If you want to add a picture from the web, click Online Pictures.
Add as many images as you consider necessary. Drag the pictures to locations or positions appropriate for them. You may have to resize some pictures to make them fit into certain spots correctly.
Since you added and worked with pictures first before moving on to content, you will find it much easier to determine how texts will fit into individual columns.
TIP: The best brochure images are often a combination of two or more images. For this reason, you may want to use our FREE Online Collage Maker to create a collage based on 2 images.
Step 7: Add some text
It is time you typed some text into the columns on the table. After you type in something, you can drag your cursor over it and then go to the Home tab to access formatting options. For example, under Font, you can select a different font, change the font size used for the text, and so so.
For titles and heading, you may want to use a font slightly larger than fonts in other locations. And you may want to put the texts in those sections in bold.
You can center titles and headings by clicking the icon for Center Alignment.
Step 8: Make further adjustments
You may want to review the images (especially in terms of their sizes) and make further adjustments. You can switch the positions of images, test their sizes, and so on.
If necessary, you can insert blank lines in columns to make some room for images between paragraphs. To insert a single blank line, tap the Enter button on your keyboard.
Step 9: Save and print the brochure
It is time you saved the presentation. Go through File > Save As. Specify the folder to which you want PowerPoint to save the file, select your preferred format for the file, and then click Save.

Or, if you plan to print the brochure immediately, you have to click Print (after clicking File). Select your preferred printer and then specify the appropriate parameters for the printing operation.
- If your printer is capable of printing on both sides of a paper automatically, you will do well to navigate through the Printer Properties or Printer Options and then select Duplex. This way, by selecting this option, your printer gets specific instructions to print the brochure appropriately on a paper’s front and back.
- If your printer lacks a Duplex function that enables it to print on both sides of a paper, then you have to set it to print the brochure’s first slide. Once the pager comes out of your printer, you have to insert it again and set your printer to print the brochure’s second slide.
- If you must print the brochure on a commercial printer (or any printer currently not connected to your computer), it makes sense for you to save the presentation as a PDF file. When it comes to compatibility in terms of file sharing and printing, nothing beats a PDF (Portable Document Format).
- If you are working on a PC running Windows 10, then you may want to use Microsoft Print to PDF option. Go through File > Print, click the drop-down menu under Print, and then select Microsoft Print to PDF.
And that’s it on creating and designing brochures in PowerPoint.
Posted inAspose.Slides App Product Family