


Whether you are looking to host a small celebration, birthday party, or wedding ceremony, an invitation is a great idea. Making invitations doesn’t have to be hard. In this article, you will learn how to create invitations in PowerPoint quickly.
Step 1: Find the Right Template. Download It.
This is easily the most important phase. The template you choose makes or breaks your invitation.
Instead of starting from scratch and doing a lot of hard work, you are almost always better off taking a great invitation template and making it yours. By modifying the colors, pictures, and words, you get to give a template your personal touch.
How Do I Find the Right Template for My Presentation?
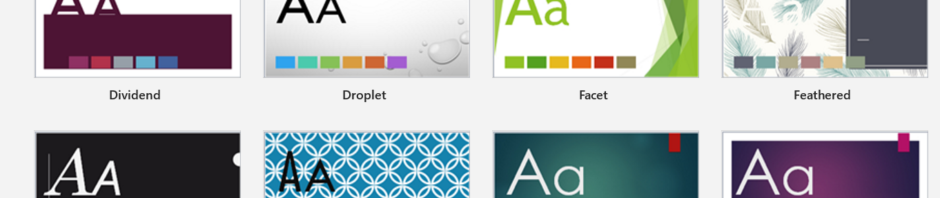
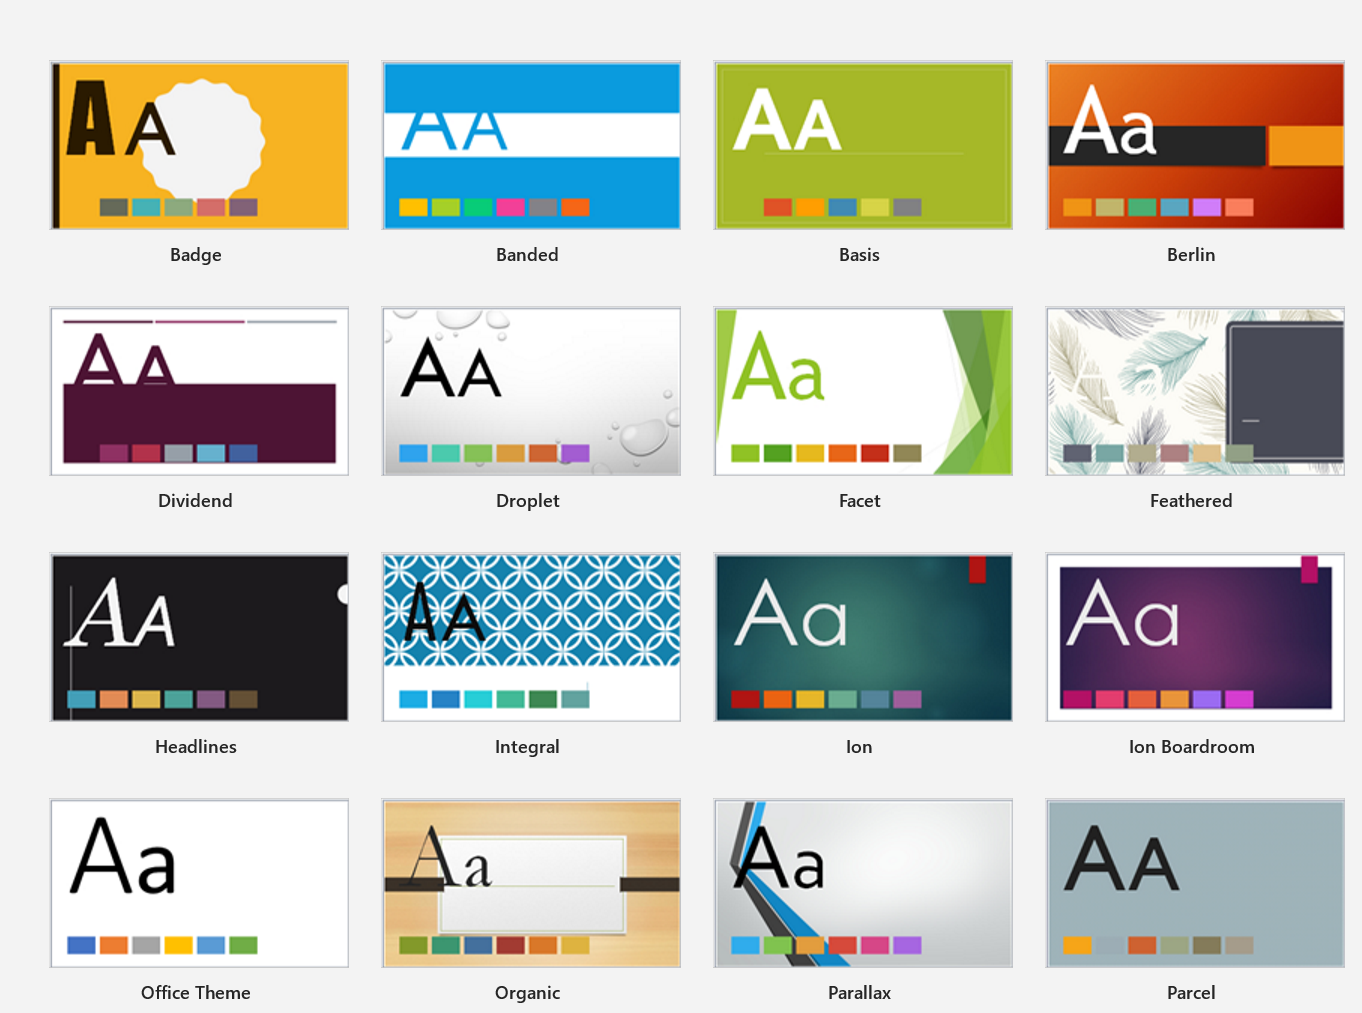
The Microsoft PowerPoint app provides free presentation templates by default. Open the PowerPoint program and go through File > New.
The preinstalled presentation templates won’t cut it for beautiful invitations, so you will do well to search for more refined templates by typing invitation into the text box.
If you want to see templates for party invitations, then run a search for party invitations. PowerPoint will present a list of thumbnails for party invitation cards. When you click an invitation thumbnail, the right pane changes to show details on the template (who provided it, the size of the file, and so on).
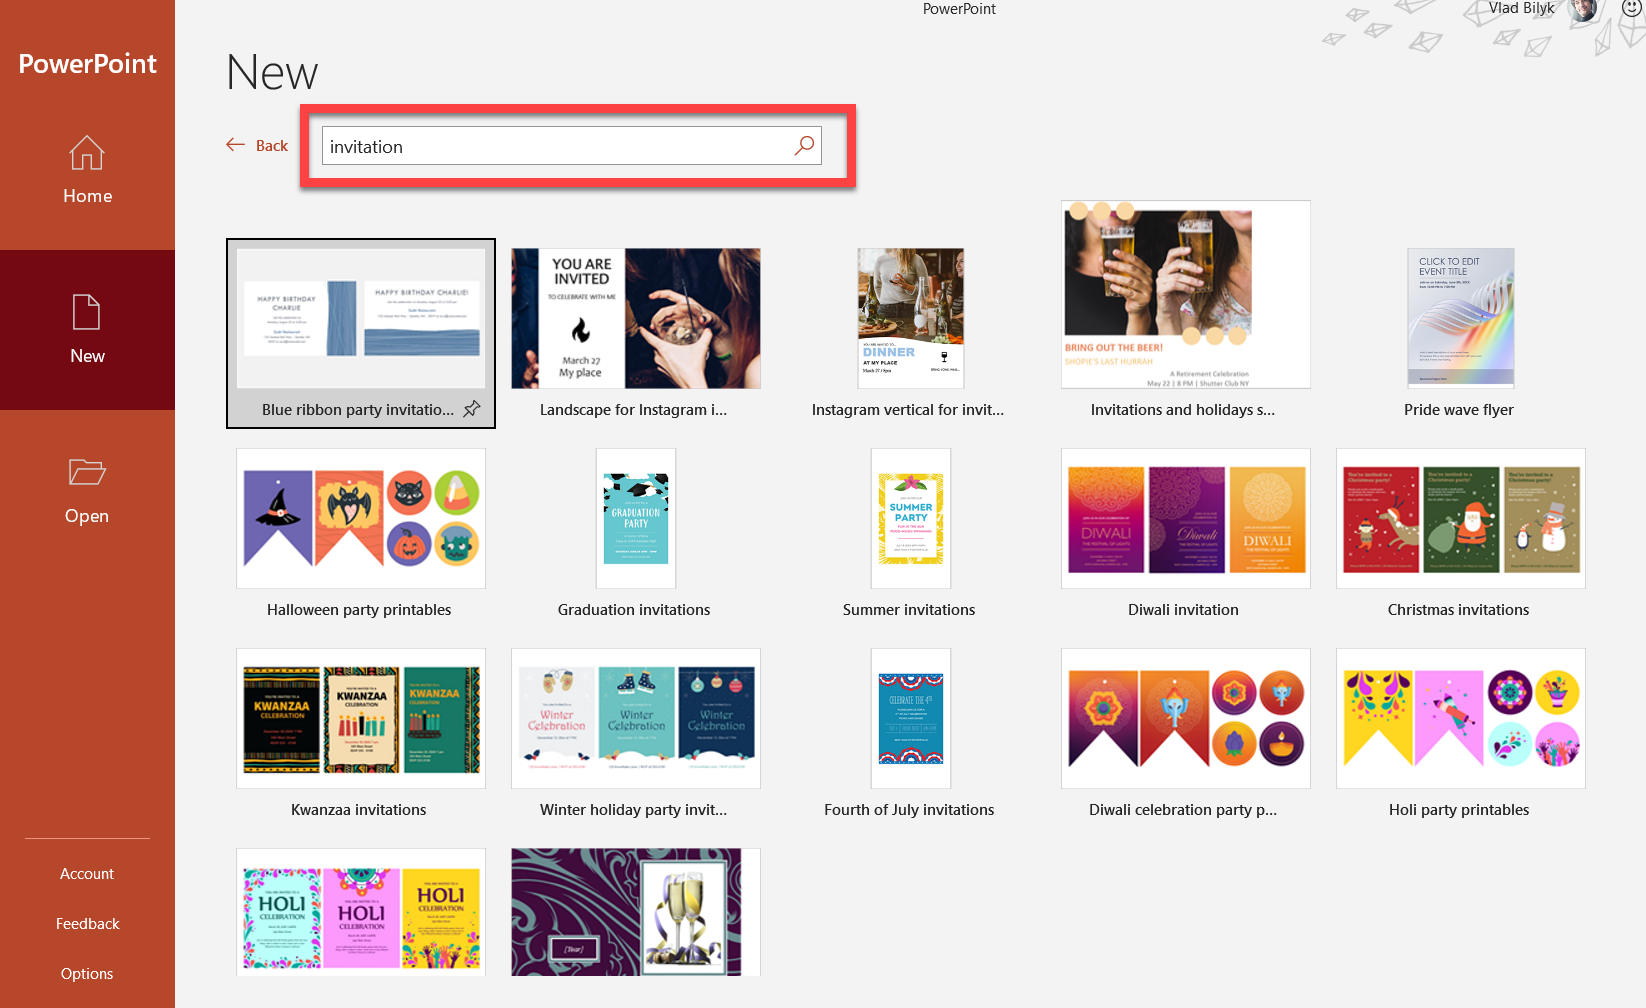
Ideally, you should select an invitation template that suits the occasion. Once you find a template you really like, click the template and download it.
Should I Search for PowerPoint Templates Online?
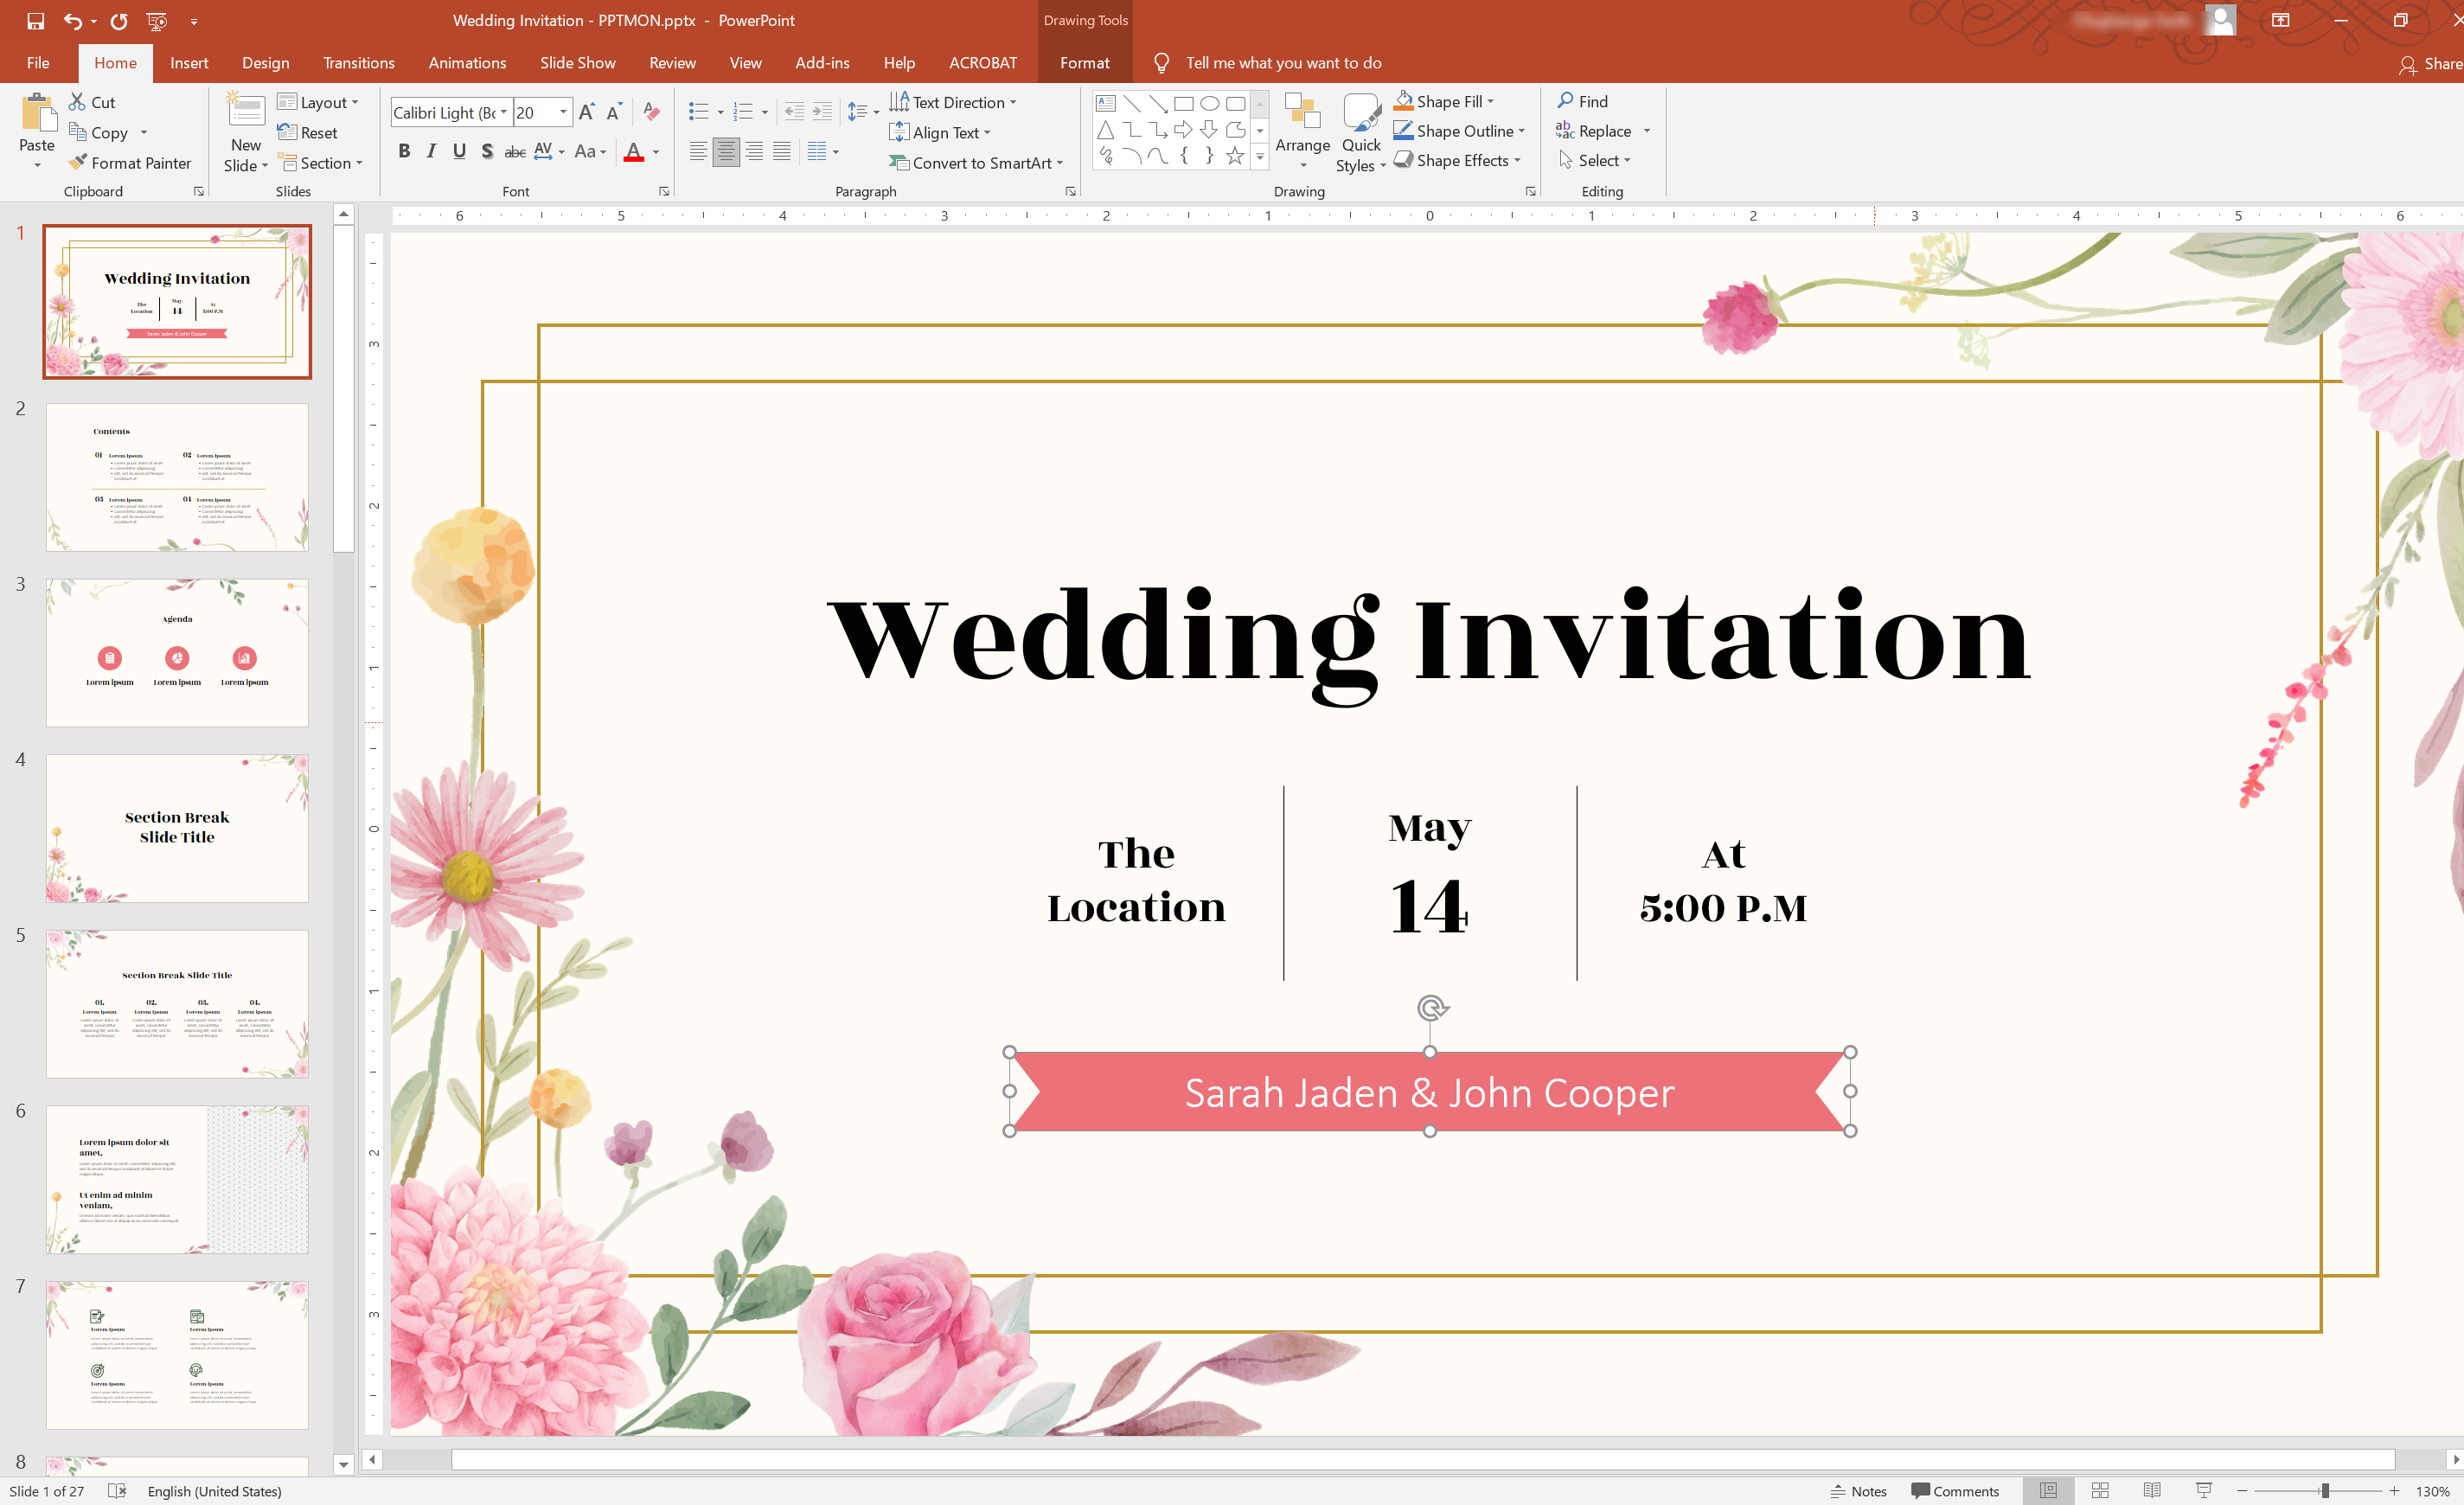
If you want even more unique templates, you might want to search for templates online. For example, we searched for wedding invitation templates online and found one from PPTMON that we really liked. We will walk you through other steps (editing) using this template as our reference.
Step 2: Fill out your personal information. Customize the template.
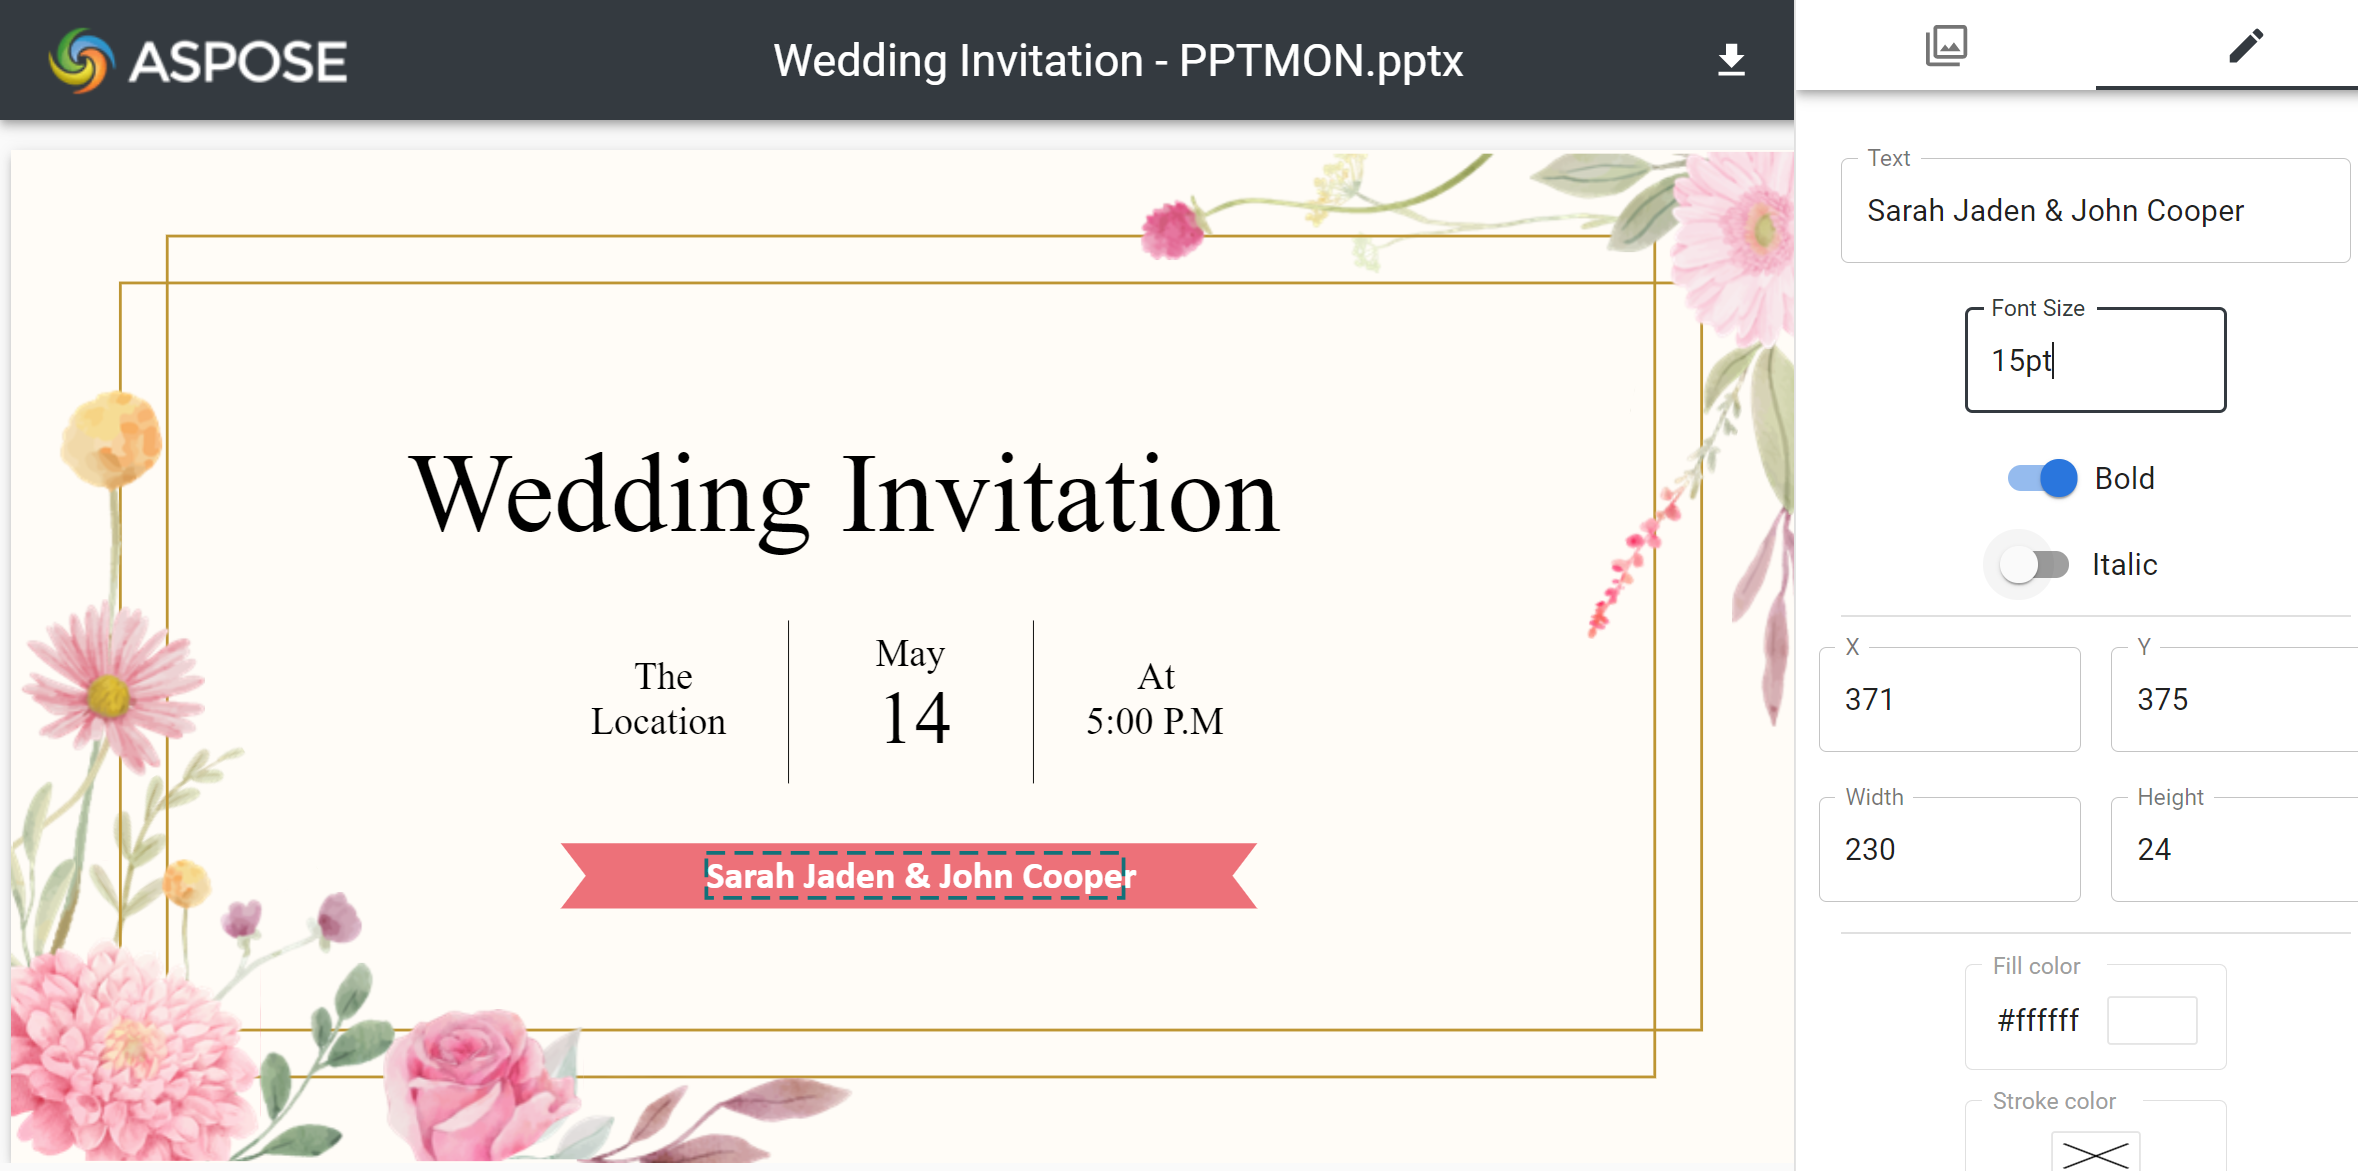
With the right template in hand, you can start making the presentation yours. If you got a template with an Event Description field, you have to fill in the fields with the right data. Otherwise, for regular presentation templates, you have to edit the contents of the text boxes manually.
To modify the text in a box, double-click the box.
These are the most common information specific to events: event name, its date and time, venue, and other similar details. You do not want to miss these details.
Depending on the event for which you are designing the presentation, you may want to add pictures. You might also want to adjust the graphical content in the template by clicking on it and dragging it around.
Note: If you downloaded a template from the web, you will do well to take precautions before opening it. Files from the internet can be malicious or harmful. You are better off opening the template using Aspose PowerPoint Viewer and then moving on to Aspose PowerPoint Editor to modify its contents.
This way, your computer won’t have to deal with issues resulting from the execution of malicious code.
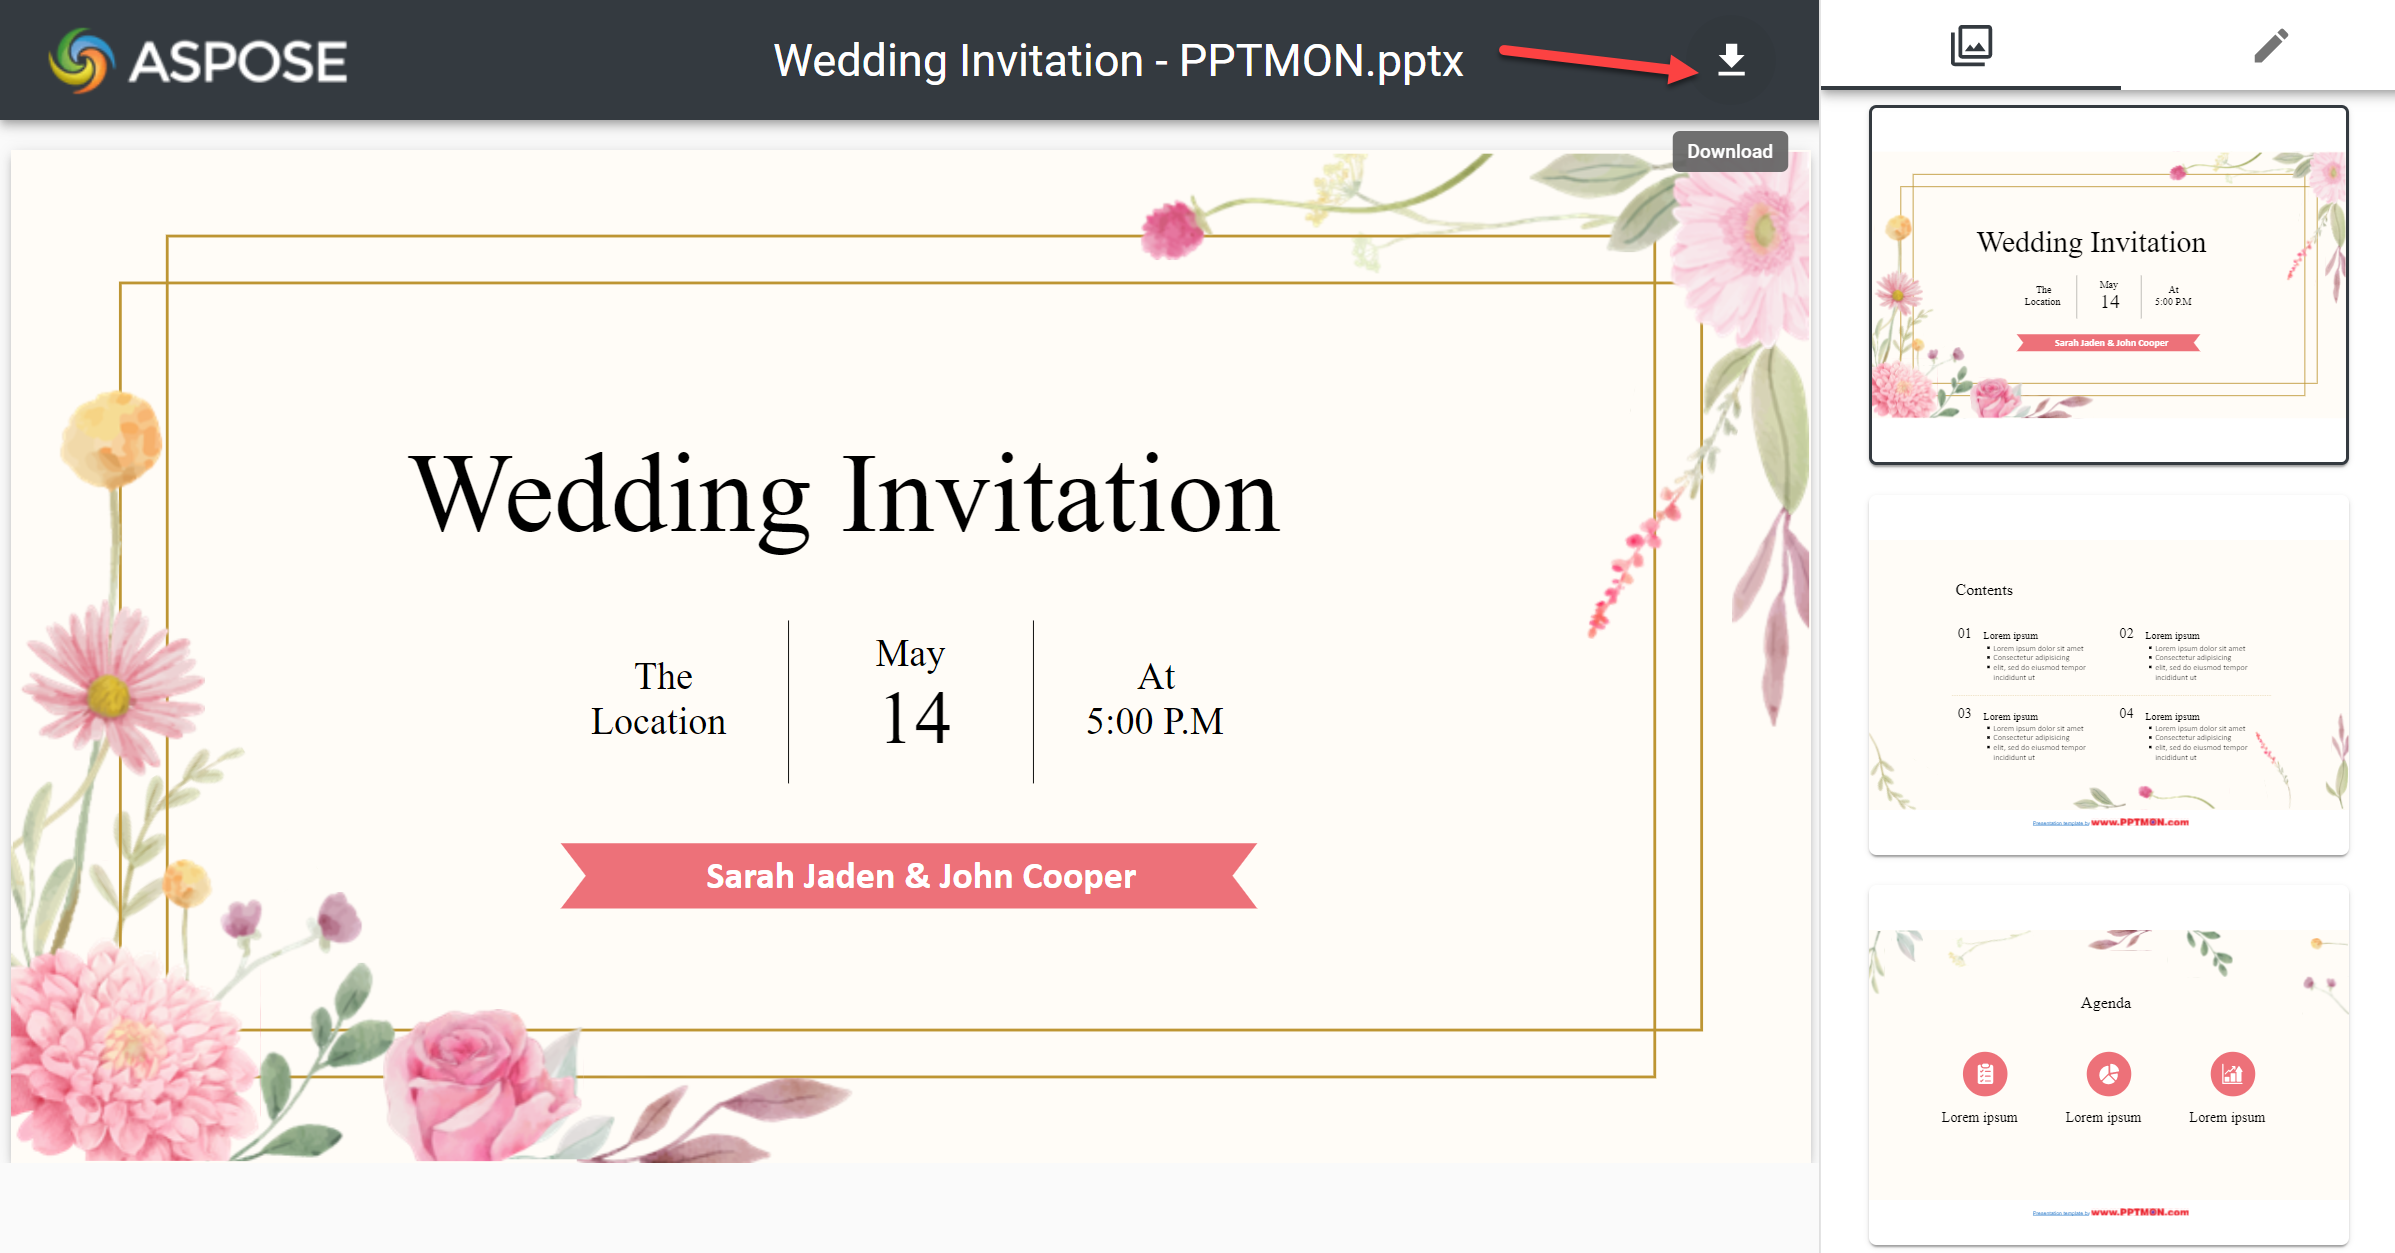
Step 3: Save the Presentation. Print It. Share It.
Once you finish making changes to a presentation in Microsoft PowerPoint, you have to save it. Go through File > Save as.
If you are using Aspose Editor for presentations, you simply have to download the presentation. You can change the file name later.
Tips for Printing and Sharing
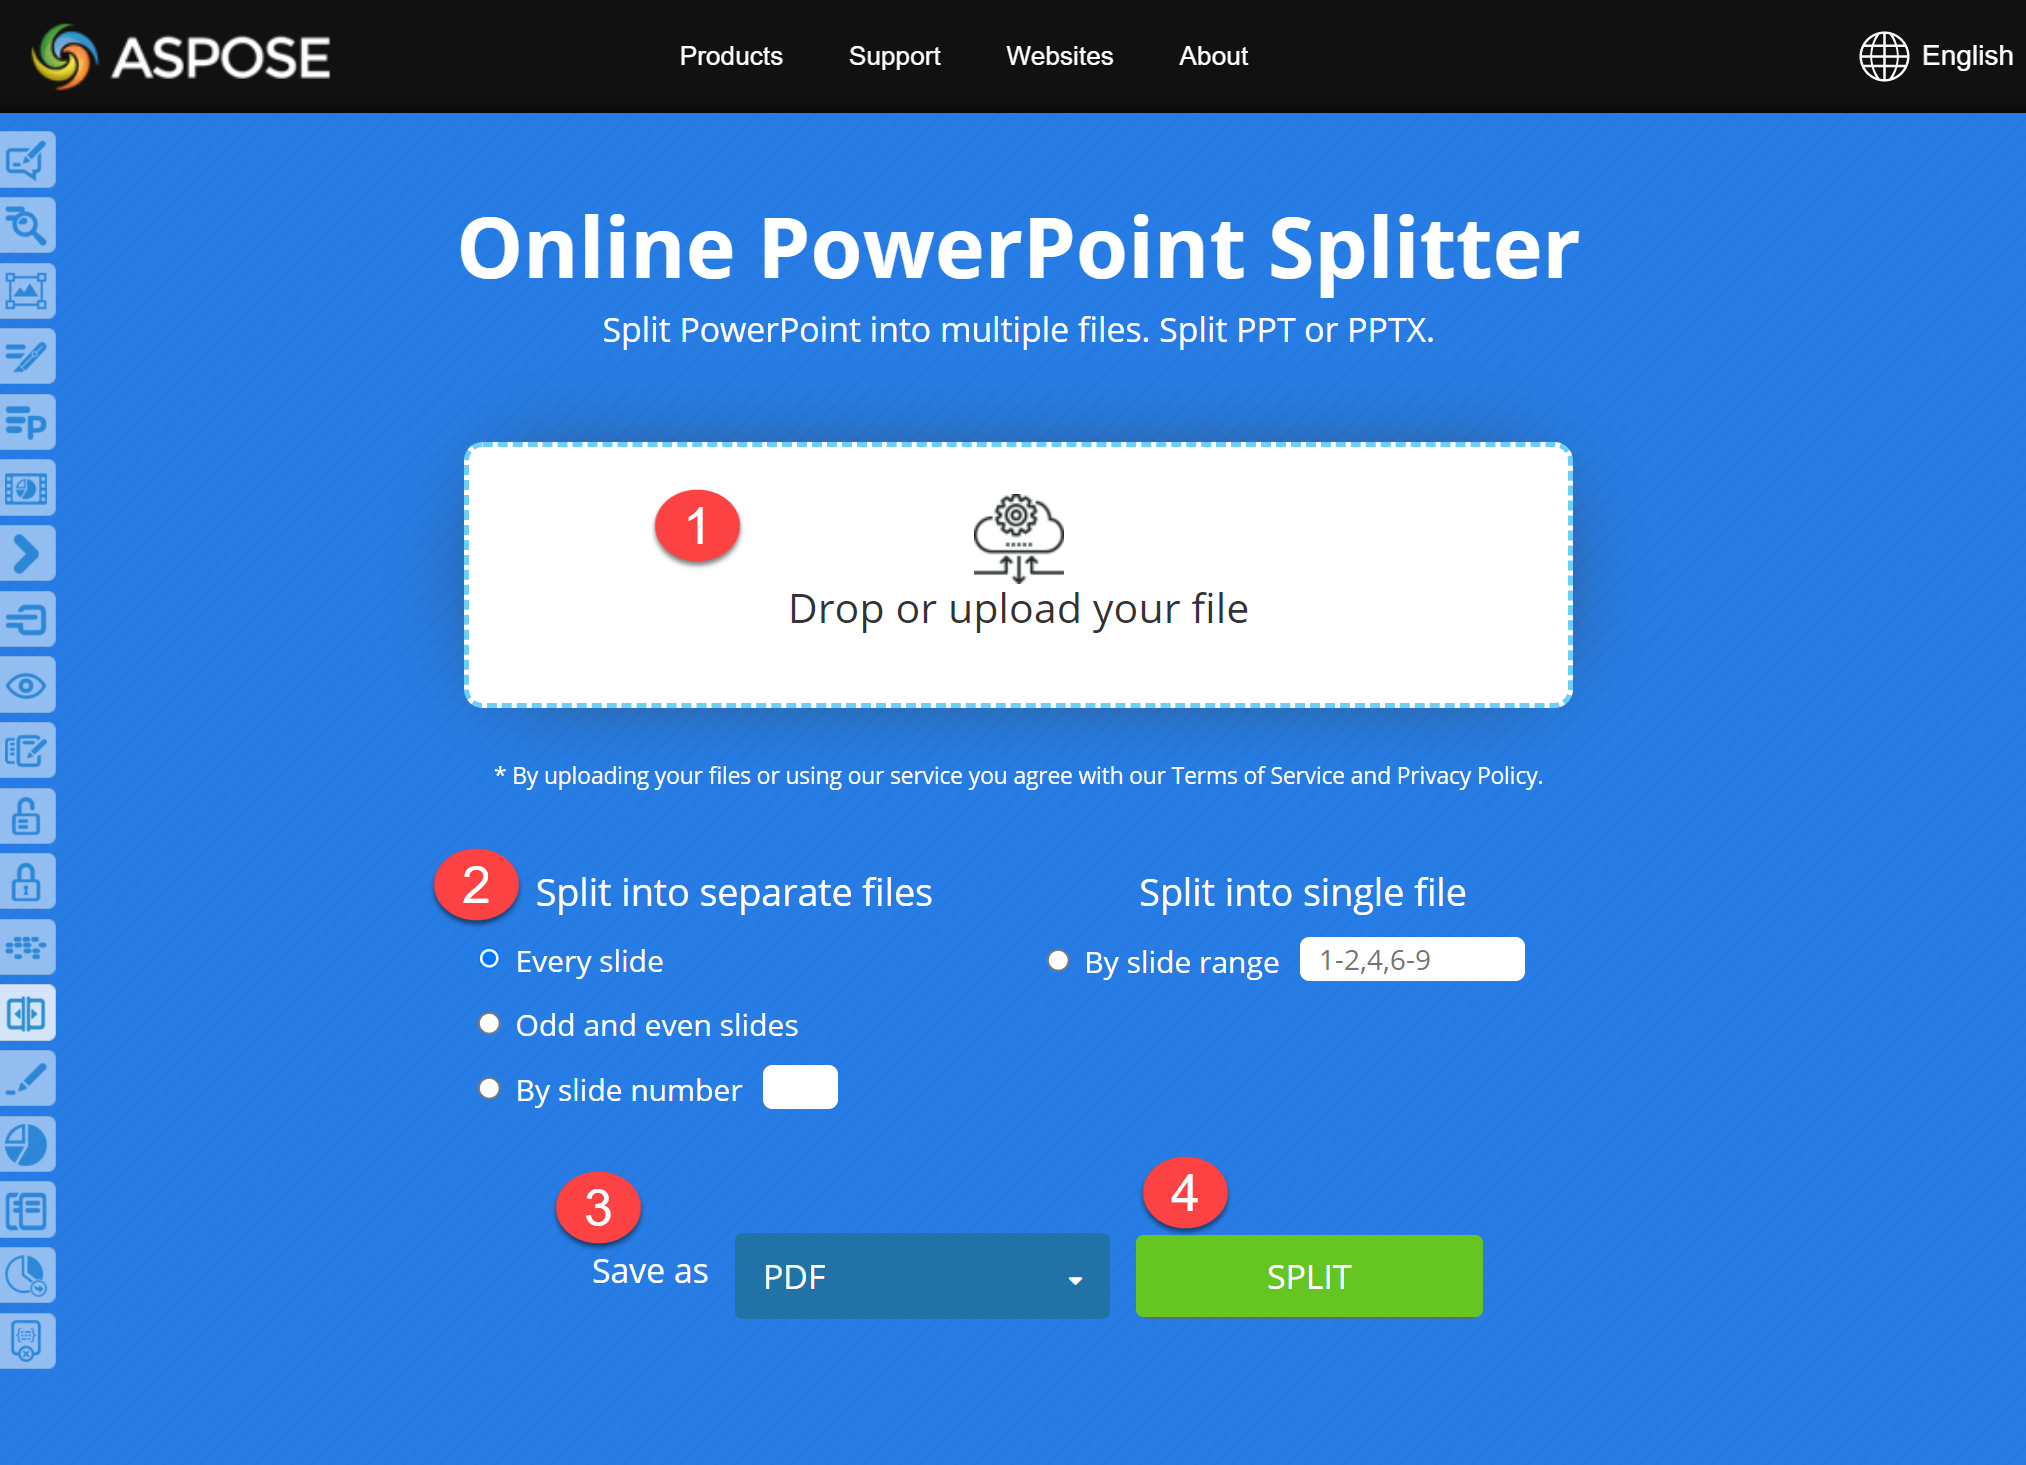
If you plan to print or use individual slides from the presentation, you may want to split the slides into separate files. This free PowerPoint Splitter can help you with the task.
If you plan to share the invitation electronically or through social media, you may want to convert the PowerPoint or specific slides to another format (PDF or JPEG, for example). The Microsoft PowerPoint format (PPT or PPTX) is hardly the best or most convenient file format for sharing documents. Not everyone has PowerPoint (or an alternative program) to open presentations on their device.
Moreover, by converting the presentation to a format like PDF or JPEG, you get to access more advanced or customizable printing options.