


In life, a calendar comes in handy when you need to check out a date or focus on an upcoming schedule. Calendars play a similar role in PowerPoint presentations and documents.
By inserting a calendar into your presentation, you get to draw your viewers’ or participants’ attention to upcoming dates or make them think about them. In this article, you will learn how to insert a calendar in PowerPoint.
The easiest and fastest calendar creation method requires you to use a template. Microsoft PowerPoint provides many calendar templates, so you will have a make a decision soon.
Step 1: Select your preferred calendar template
Open the PowerPoint application on your computer. From the right pane, click New.
Type Calendar into the text box and then hit the Enter button on your keyboard. This action should initiate a search for beautiful calendar templates.
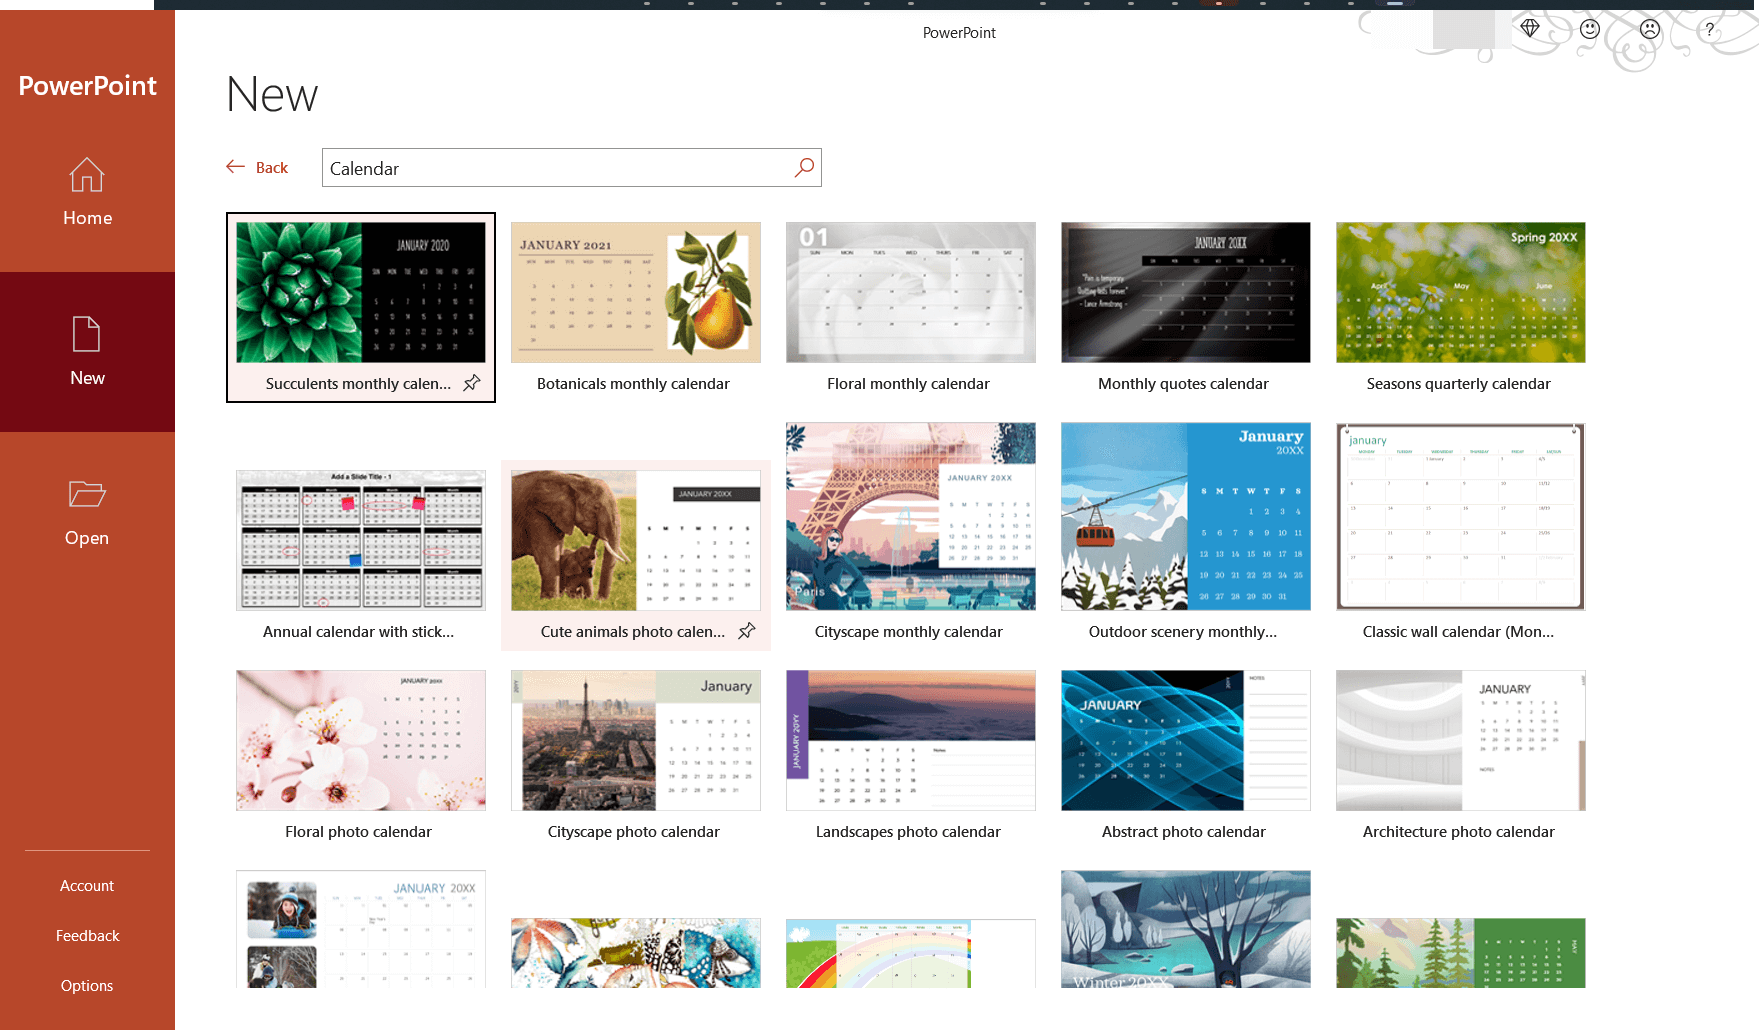
From the predesigned calendar templates, choose the one you would like to use.
On the expanded screen for the template, click Create.

You should see the calendar template in your presentation now. If you plan to add a lot of tags or notes to your calendar, you may want to select a calendar template that supports memos now.
Step 2: Edit the calendar template
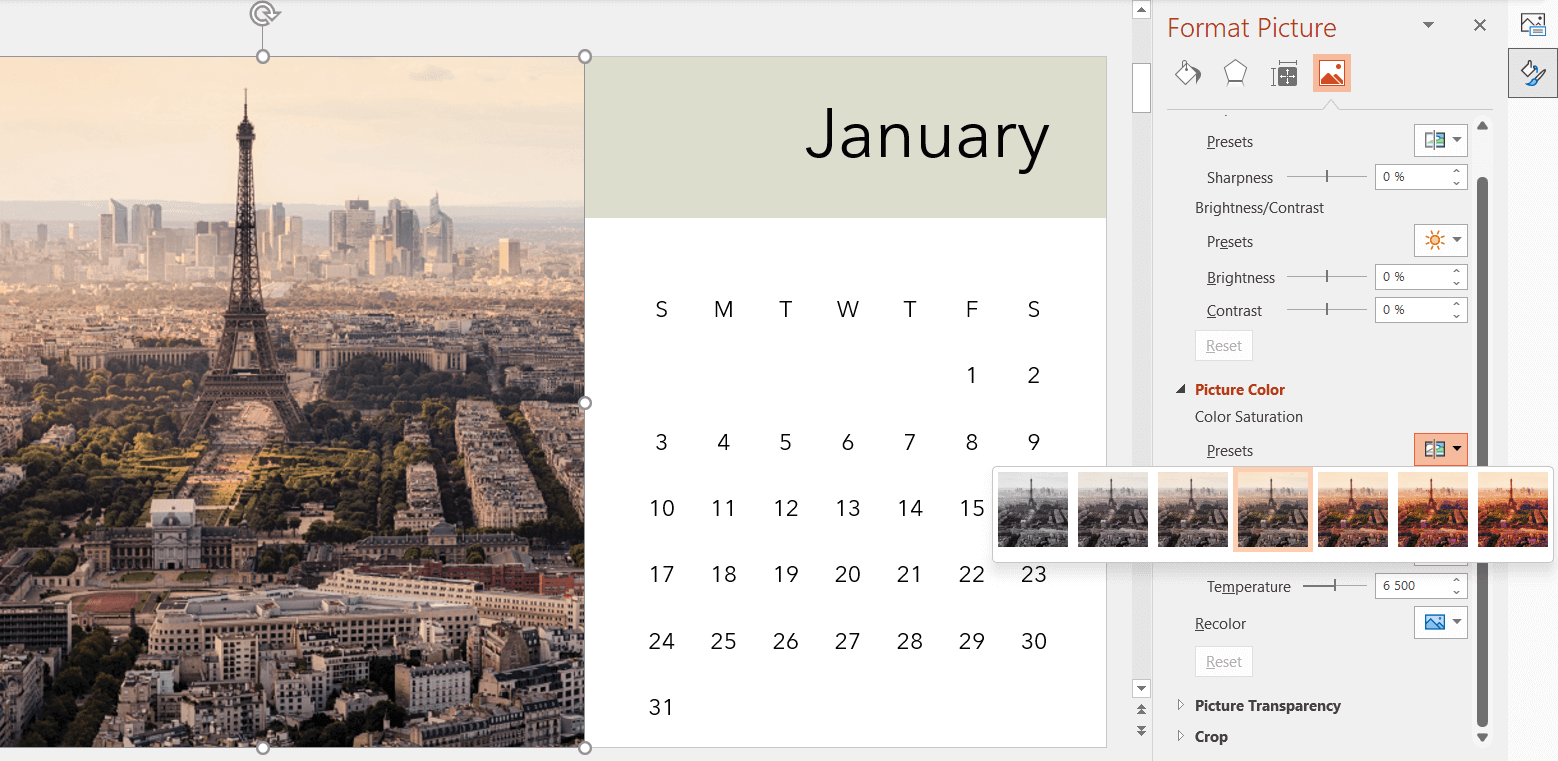
The changes you get to make to the calendar template are largely dependent on the type of calendar template you selected. For example, we could quickly edit images in the calendar we chose.
You will not be able to edit some objects normally in some calendar templates. Here, we are referring to objects like shapes, numbers, or texts. To manipulate such objects, you have to access the Slide Master by going through View > Slides Master.
If you want to format the text in your calendar, you have to go to the Home tab and use the formatting options (which you are probably familiar with) there. Similarly, if you want to insert more shapes and manipulate them, you have to go to the Insert tab and then select Shape there.
Nevertheless, at this stage, you may want to avoid changing the look of your calendar too strongly through serious formatting options. You will get the chance to make defining changes later, anyway.
Step 3: Add reminders to the calendar
A calendar may serve different purposes, but reminders for meetings or events constitute an important use case. So, if you have plans for such tags, you will do well to add them now.
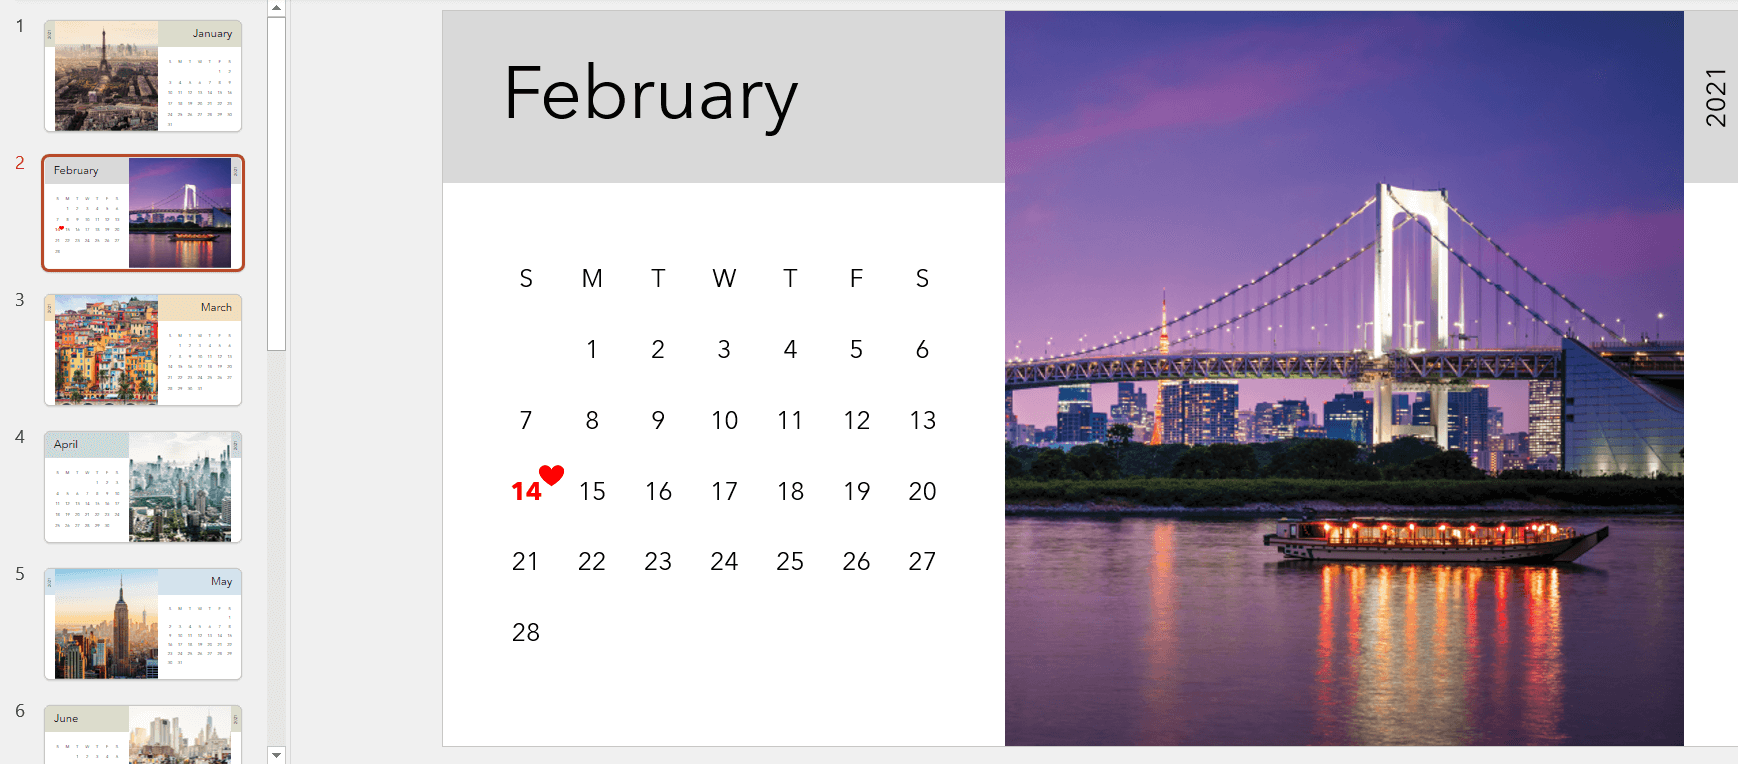
You may also have to make adjustments to make the reminders stand out while not being out of place. You can do this by highlighting the reminders’ texts. For a single reminder, for example, you can highlight its (entire) text and then select your preferred font size, font style, and color.
Step 4: Format the calendar
You can improve your calendar’s look even further by formatting critical elements like its main theme, background, etc.
To format your calendar, head to the View tab and then select Slide Master.
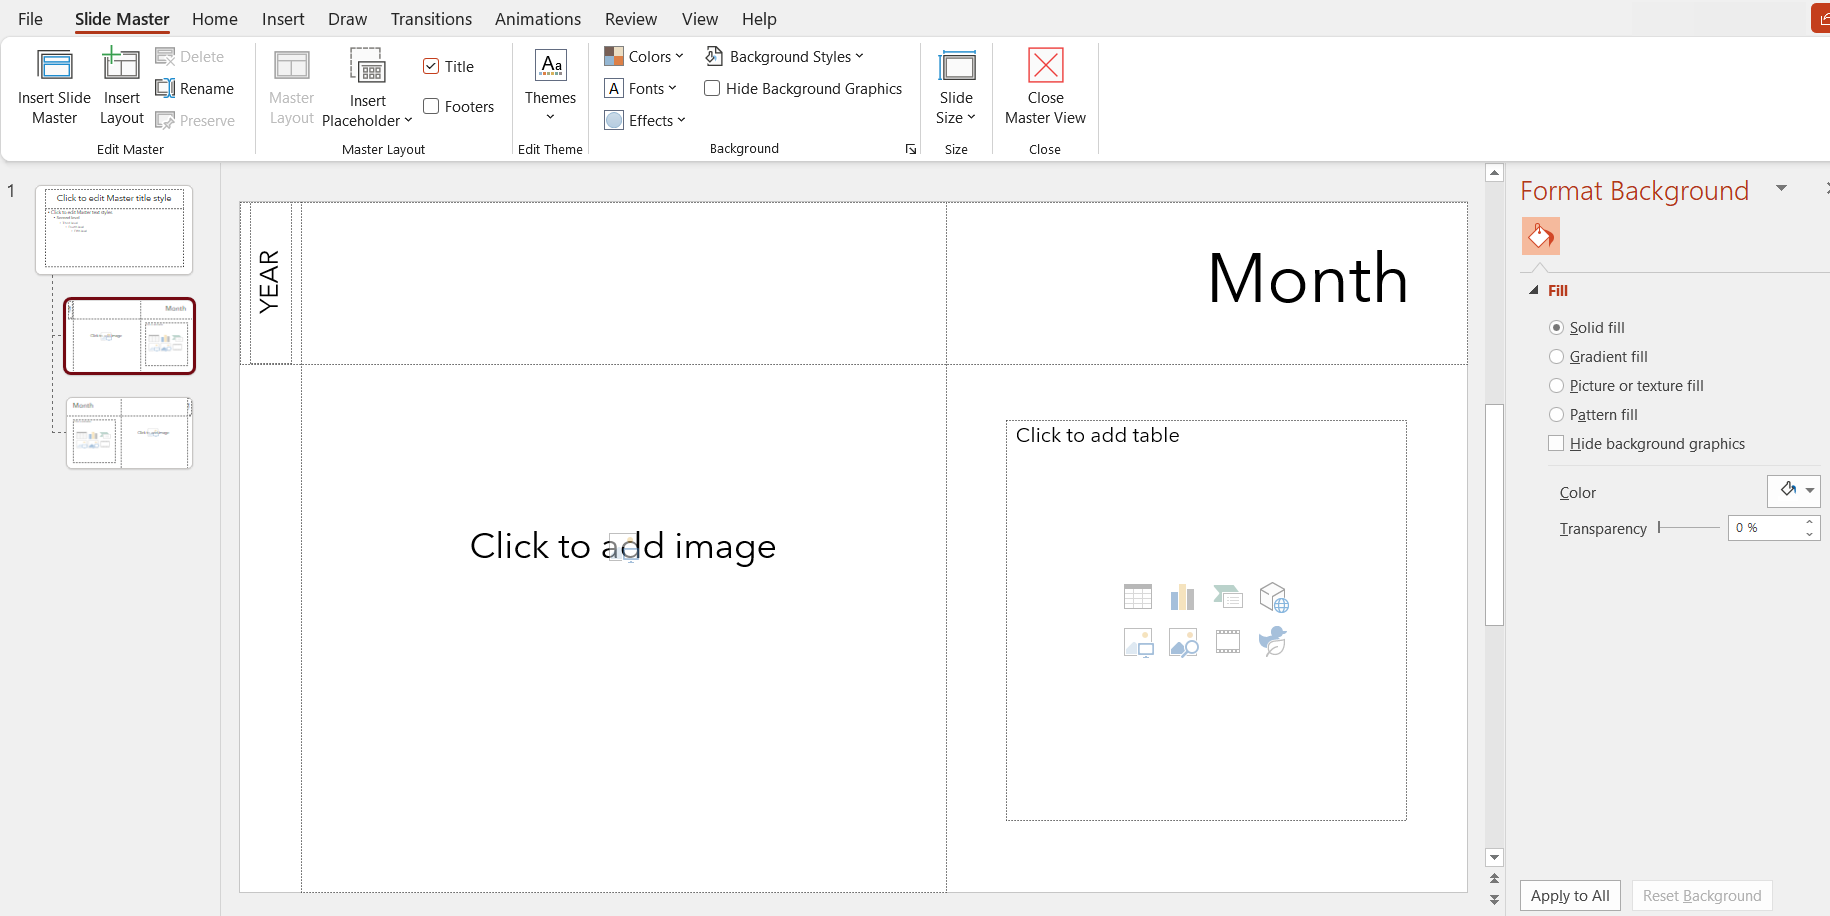
- To change your calendar’s theme, click Themes (under the Slide Master tab) and then select your preferred theme.
- To change your calendar’s background, go through the backgrounds under Background Style and then select a new background.
Step 5: Save the calendar. Print it or share it
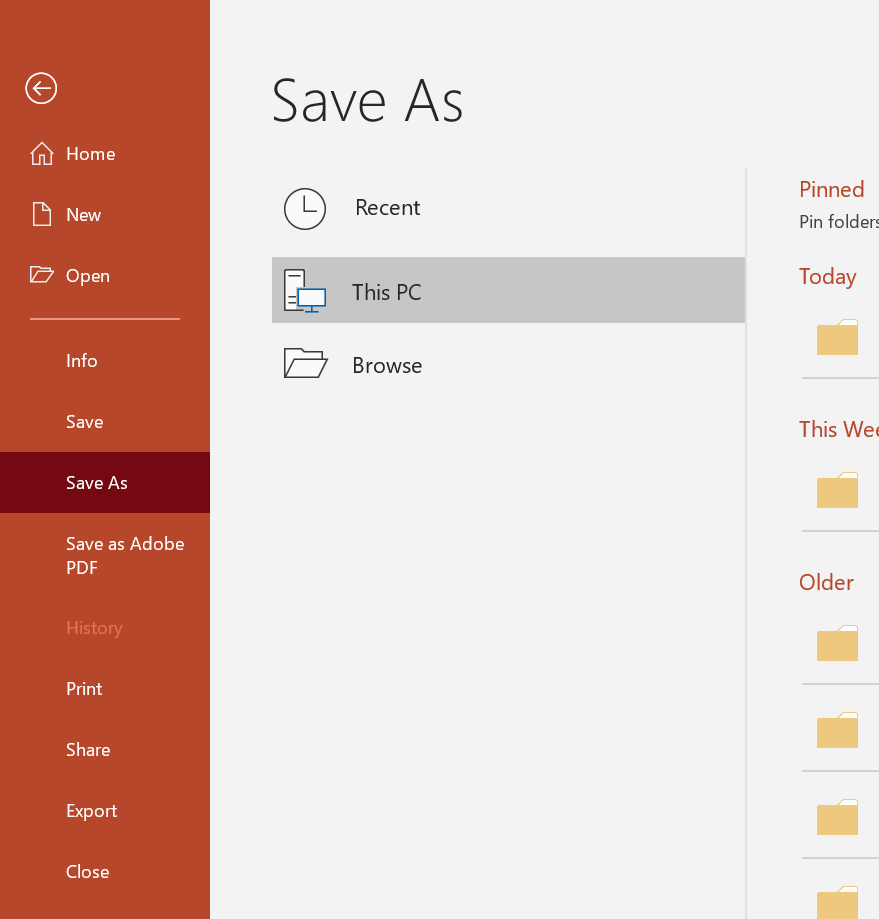
At this point, assuming you have finished designing your calendar in PowerPoint, it is time you saved it. To save the presentation, go through File > Save as.
Tips for Customizing and Designing Calendars
Info: Aspose provides a free Collage Maker that allows you to merge pictures quickly online.
Compose a quick outline
Before you start working on a calendar design, you will do well to take some notes (especially for the content’s structure). This way, by making feasible plans for the elements in the design (what goes in where), you should get a clear picture of things.
Fill in the placeholders
While most calendar templates contain many slides and designs, you are not obligated to use every slide in the deck. Ideally, you should fill the placeholders first with relevant content. This approach should save you considerable time.
Add key dates in months properly
As we already established earlier in the article, a calendar can help you draw your viewers’ or audience’s attention to something. In such a case, if you really want them to pay attention to some dates or events, it makes sense to highlight only the right areas. Or you can add notes to the sections to which you want to shine some light.
To highlight a date or a range of dates, we recommend you use a color (or color scheme) that contrasts the background.
Posted inAspose.Slides App Product Family