


Animated images and similar graphics are everywhere these days. Animated GIFs, in particular, can lighten up a PowerPoint presentation.
In this article, you will learn how to create animated GIFs in PowerPoint.
Why Use Animated GIF in PowerPoint?
- GIFs help you to draw your audience’s attention to content.
- Using animated GIFs, you can highlight your content and key messages in a fun way.
- GIFs use up smaller spaces than videos, so they tend to load faster.
The vast majority of GIFs are animated. By animated, we are referring to images that are repeated automatically after a few seconds. Nevertheless, some GIFs contain images that play only once.
In PowerPoint, you can play animated GIFs in slideshow mode.
Windows
Step 1: Open PowerPoint and prepare the slides
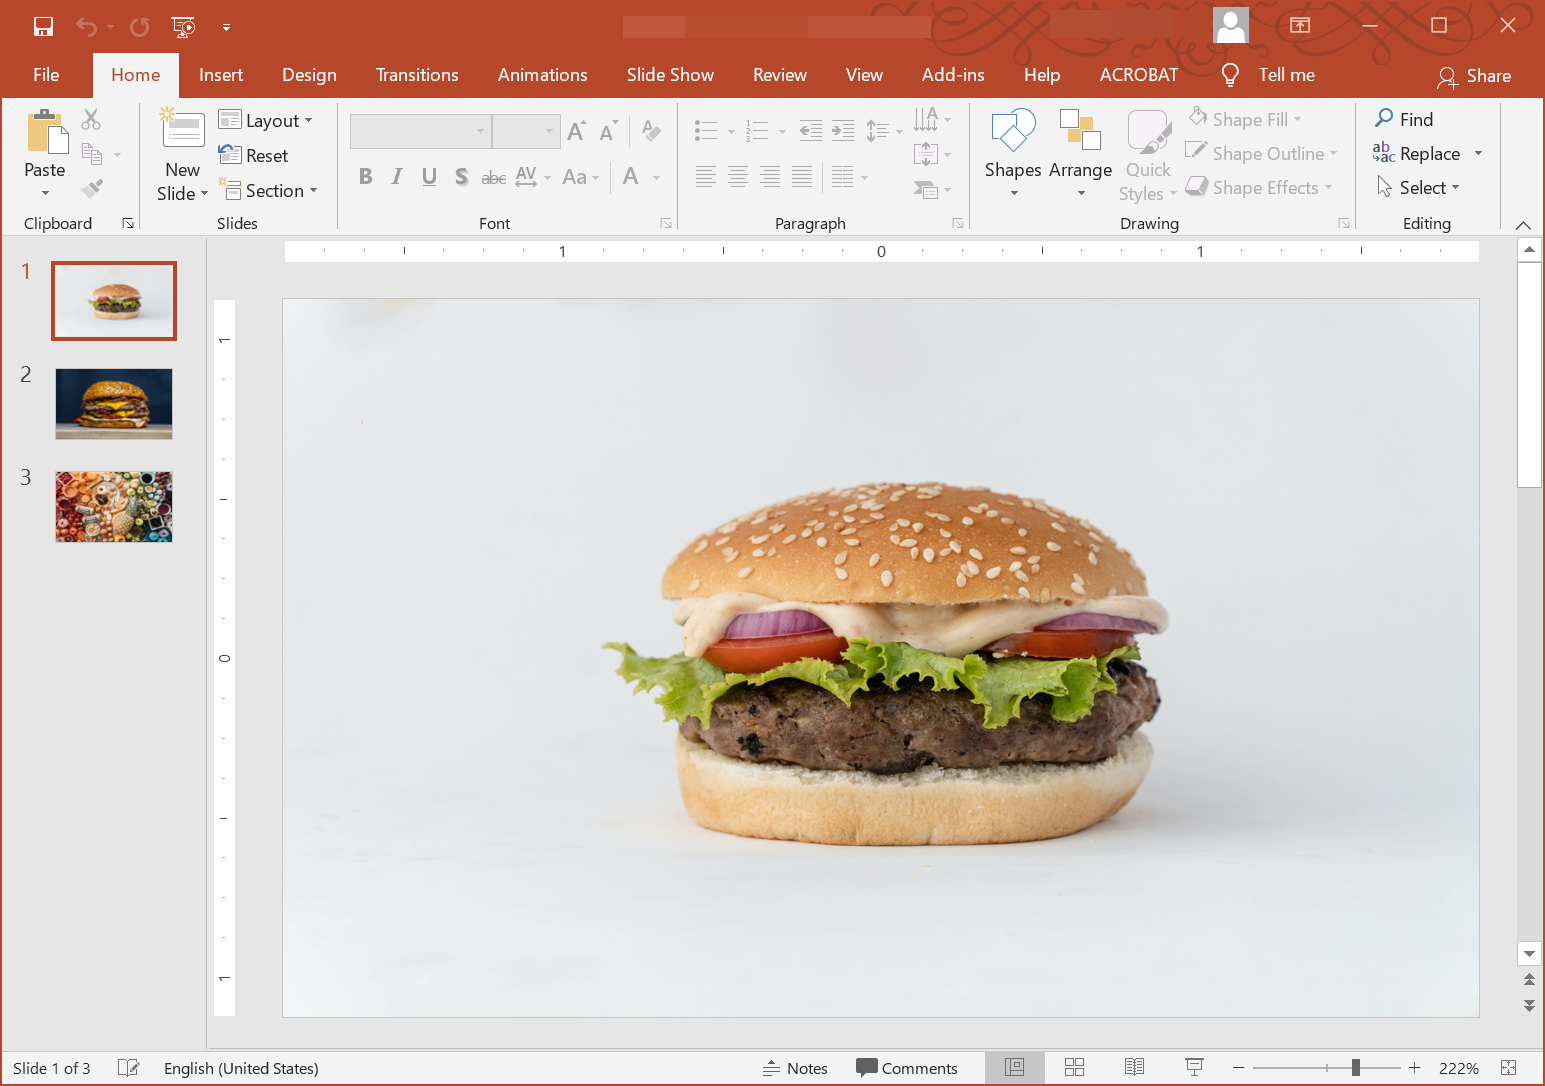
Open the PowerPoint program on your computer. Create empty slides and fill the slides with the images you want to use to create your GIF.
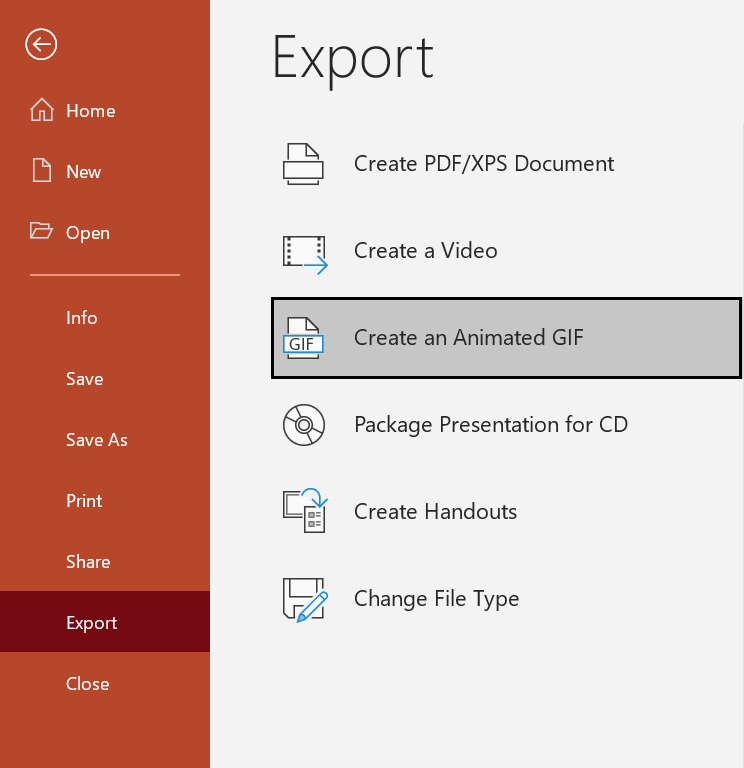
Go through File > Export.
Under Export, select Create an Animated GIF.
Step 2: Specify your preferred parameters for the animation
These parameters define the animated GIF creation process:
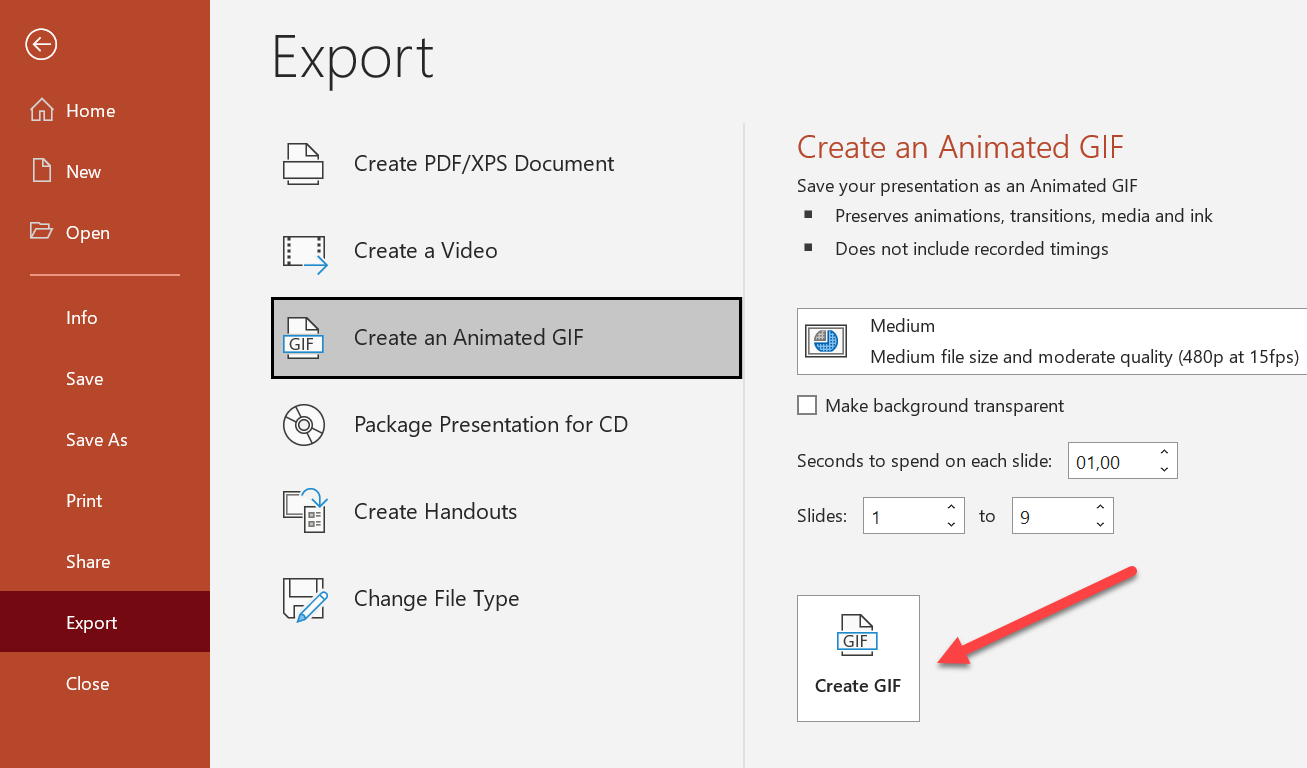
Quality
Go to the area around the right pane, select your preferred quality level for the GIF. The default selection—Medium—should be fine.
Duration for each slide
Specify your preferred minimum duration for each slide (that will be shown in the GIF). This minimum duration (in seconds) is the smallest time spent on each slide (animations included—if they exist). Transitions do not count towards the duration.
The default duration selection—one second—works fine for most GIFs. However, if your GIF contains animations or elements that require more viewing time, you will do well to increase the duration for each slide.
You can increase the duration for slides through the arrows. Alternatively, you can type in your preferred figure (in seconds) for the duration.
Selected slides
Specify the slides or range of slides you want to use for the animated GIF. For example, you can specify slides 1 to 3. Or you can use all the slides in a presentation.
Step 3: Initiate the operation and review the result
At this point, you are likely to have specified your preferred settings or parameters. Click the Create GIF button.
Once PowerPoint finishes making the GIF, you will do well to play it immediately. This way, you get to check and confirm that the resulting GIF is what you had in mind.
If you don’t like the PowerPoint GIF you just created, you can repeat the procedure while making adjustments to the parameters that define the process.
Info: Aspose recently developed a FREE Text to GIF web app that allows you to create stunning GIFs from simple texts.
macOS
Step 1: Open PowerPoint and prepare the slides
Open the PowerPoint app on your mac. Create some empty slides. Fill those slides with the images or elements you want to use to create your PowerPoint GIF.
From the top-left area, click File and then click Export.
Step 2: Specify your storage parameters
On the Export window, specify your preferred storage location for the file. Give the file a name. You might also want to add a tag to the file now.
If you want to save the animated GIF online, click Online Locations and then select your preferred location for the file.
Step 3: Specify your preferred parameters for the animation
From the options on the drop-down list, select Animated GIF.
Quality
Choose your preferred option for Image Quality. The default selection—Medium—should work fine for most GIFs. However, if your GIF contains a lot of quality images or heavy animations, you may want to go with a lower image quality option here.
If you want to use a transparent background for the PowerPoint GIF, tick the Make background transparent checkbox.
Selected slides
Specify the slides that should be used to create the PowerPoint GIF
Duration for each slide
Specify your preferred duration for each slide (that will appear in the GIF). The minimum duration here is identical to the parameter in Windows—it is the smallest time expended on each slide (animations included—if they exist). This minimum duration does not take transitions into account.
You can stick with the default duration selection—one second—because it works fine for most GIFs. If you plan to use heavy elements or animations that require more viewing time than normal in your PowerPoint GIF, then you may want to increase the duration for each slide now.
To increase the duration for each slide, use the arrows—or you can type in your preferred figure (in seconds) for the duration.
Step 4: Initiate the operation and review the result
With all the appropriate parameters selected, it is time you initiated the GIF creation task. Click the Export button.
Now, you must head to the directory you specified for storing the GIF. Open it by double-clicking it. It should play out automatically.
If you feel something is wrong with the GIF, you can redo the task by going the same steps (but this time) and making the right adjustments.